Whether you are selling edibles or basic fashion items, you cannot just get away with simply capturing and uploading photos. Product photography is a golden opportunity to attract your customers and there you need to focus more on the product photography lighting techniques to make it successful.
Here is why it is considered important:
- Enhances the main features of your product
- Makes your pictures look more high-end and attractive
- Develops the right mood and tone
Newbies often struggle with following the right product photography techniques. If you are one of them then worry no more!
Let’s get to know more about product photography and the key to capturing incredible shots!
Types of Product Photography Lights
Photography lighting breaks down into various categories. It really depends on what you prefer and what is available to you. E.g. you could either go for natural lighting or artificial photography lighting.
There is no hard and fast evidence about one being better than the other because, in reality, the result is largely based on the techniques. Moreover, the mood you want to create and the product you want to shoot also determines the type of light.
Below are the three major categories of photography lighting.
1. Backlight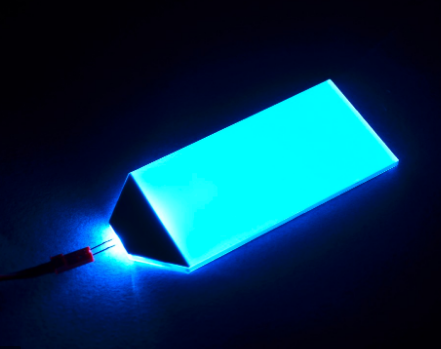
Evident by the name, the backlight comes from behind the object you are trying to capture. Your camera should be facing the sun to capture backlit photos. It can sometimes be the most challenging source of light because of the intense level of contrast. Not all backlit photos turn out to be as incredible as you imagine them to be.
2. Sidelight
Sidelight occurs when the sun is on either side of the camera. It is quite effective in enhancing the detail and overall shape of the product. However, it works well when the shape of the product is obvious and sharp enough to be enhanced through side lighting.
3. Frontlight
Here the source of light is behind your camera. Frontlight is also commonly referred to as flat light and is largely used to strategically cover imperfections through shadows. Again, this too has its own set of challenges. If your product has too many details then it might not be a perfect idea.
All three of these lights can either be achieved through natural sources of light or simply through the small product photography lighting setup available in your studio.
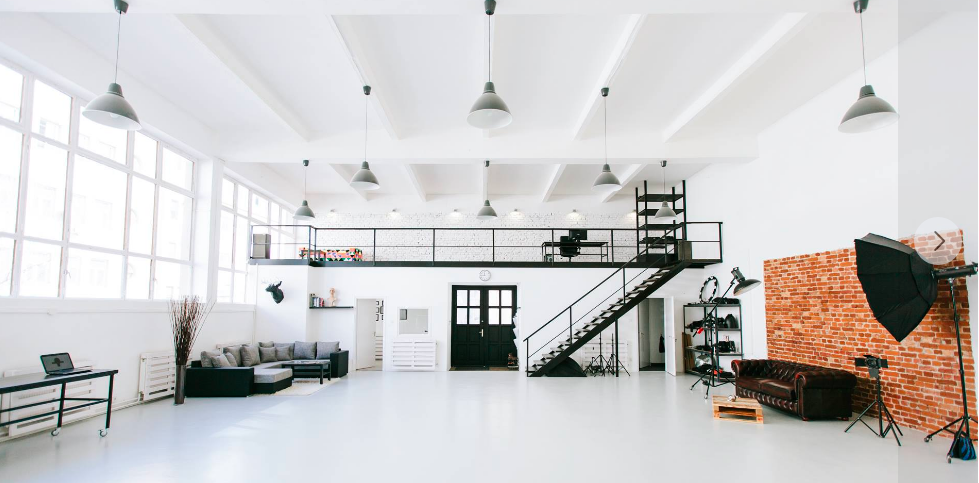
There is a misconception that natural lighting can only be achieved outdoors and not indoors. Let us bust this myth for you. You can definitely capture a mind-blowing picture indoors without the aid of artificial photography lights. The only condition you have here is a good window in your room that does not block the light.
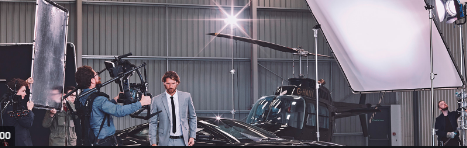
Product Photography Lighting Setup
They say lighting is the key ingredient in capturing crisp images. However, it is not the light alone that will help you achieve what you desire. You will need a few other items to strike a balance in your images.
This section walks you through the items required to create the perfect photography lighting setup and successfully follow product photography lighting tips and techniques.
1. Camera (Well, that’s a given)
It is something that people generally find a bit too expensive. We need to realize the fact that the camera and lens have a very big role to play. The money you invest in a high-functioning camera with great features is never wasted. It is definitely an investment with high returns.
Hence, your main focus should be on picking the right camera and lens. Figure out what you aim to achieve through your photography and you will know your options.
2. Background Paper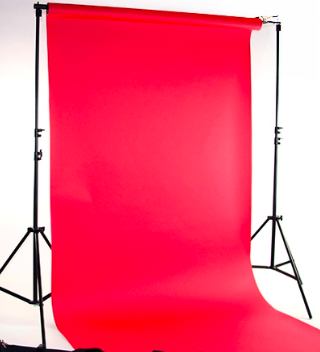
A white background paper is a staple item when it comes to product photography. A clear white background helps you get sharp product images especially when you wish to present the product in detail. Also, the white background makes retouching a lot easier as it’s easy to remove on the editing software.
3. Reflectors and Diffusers
Natural lighting or the angle of artificial lights is not always in your favor. You need to make a certain degree of effort to get to the right level of lighting. This is where you need reflectors and diffusers. Reflectors help to subtract, increase, or bounce light. Reflectors come in various colors and sizes.
On the other hand, a diffuser is used to soften the light. Most often, you get a diffuser with the reflector.
4. Clamps 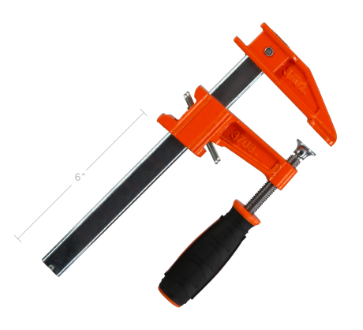
Heavy-duty clamps help you keep the reflectors and diffusers in place. We believe every photography studio should have a stock of clamps with them to make the photography journey easier like never before.
5. Tripod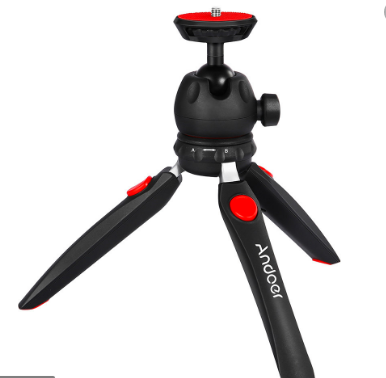
You won’t always have someone to hold the camera for you and also, handling the camera by yourself gets a bit too hard because you cannot maintain the desired angle on your own. A good tripod should be sturdy and able to carry the weight of a camera without losing its balance on different angles.
6. Stands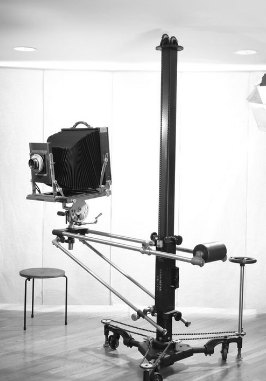
Stands come in handy for all photographers. They are essential to keep certain tools such as lights and reflectors in place and at the right angle.
7. Light Modifiers 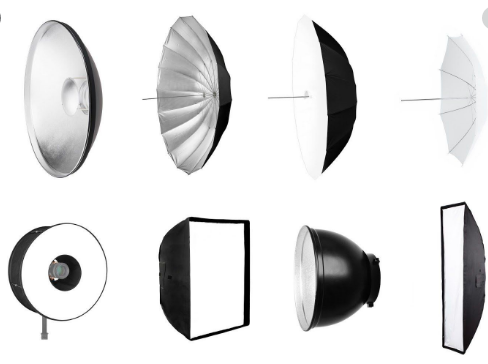
It is specifically essential for products where you need to highlight certain features.
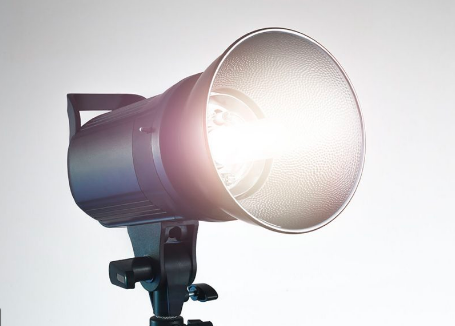
You will also require a few artificial lights in your studio. These include:
- Incandescent Light Bulb
- Compact Fluorescent Light
- LED Bulbs
- Strobe Lights
- Ring Lights
10 Best Product Photography Lighting Techniques
No doubt, product photography has really evolved over the years. It started with simply capturing photos and now there is a whole range of product photography lighting techniques to get the sharpest of images.
After a lot of research, experiments, and errors, photographers have come up with the following techniques to enhance the objects.
1. Off Camera Lights 
There is nothing riskier than relying solely on built-in flash. This can be done using strobe lights, ring lights, and other forms of lights available in your studio. It entirely depends on how would you like to highlight your product and of course, the original lighting condition of the area you are shooting in.
Experts recommend having two off-camera or external sources of light for better results.
2. Lights Modification
For this, you would be needing light modifiers. Whether you are shooting in natural light or artificial, light modifiers will help you get to the desired level of lighting. In other words, light modifiers give you control over the lighting condition.
Some commonly used items for light modification include:
- Umbrellas
- Softbox
- Octabox
- Snoots and Grids
- Reflectors and Diffusers
- Gridspot
- Fresnel Light
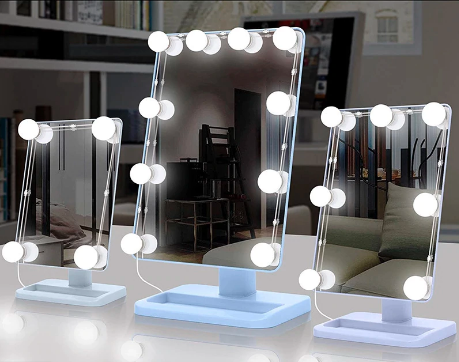
3. Ring Light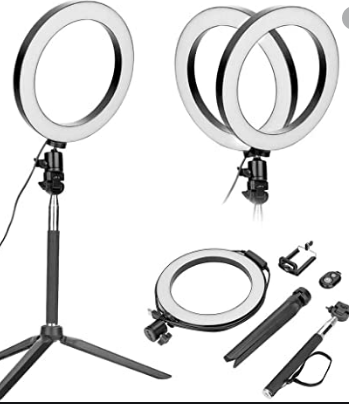
Ring light for product photography is ideal for separating the background and preventing shadows from overpowering your image. Many photographers use ring light for product photography to highlight features and give a clearer picture of what they are trying to show.
Ring lights also help to achieve a flattering and soft image. It is a very convenient method for even lighting as it does not require a very complex setup. In fact, it works wonders when shooting close-ups of jewelry and tattoos.
4. Overhead Light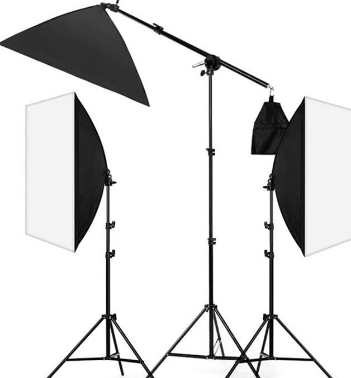
Overhead lighting is situated above the subject or in other words, you fix it on the ceiling right above the product. It helps to create a dramatic and high-end effect, especially for products with a dark color palette.
Luxury coffee and wine brands often use overhead lighting techniques to create a mood and drama.
5. Even Lighting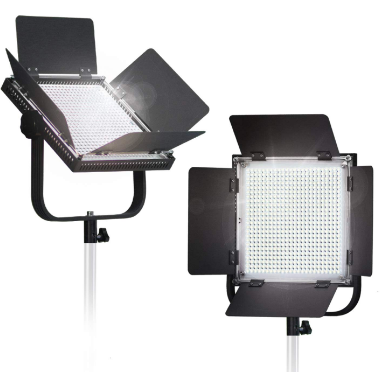
Shiny products like jewelry items tend to have the kind of reflections that become problematic when taking photos. Experts recommend even lighting for such products as it deals with such reflections. It is one of the very effective lighting techniques for jewelry.
Photographers can achieve even lighting by setting up two lights in front of the object. The lights should be placed at an angle because only then it can give ideal coverage to the product.
6. Full Coverage
You might come across objects that do not have any reflective properties. Shooting such products is quite a tricky job because you have got to do a bit of hard work on all sides to highlight them.
The full coverage technique involves three lights. The position of the lights largely depends upon the shape of your product. If handled smartly, it makes the image quite a treat for your eyes.
7. Triangle Setup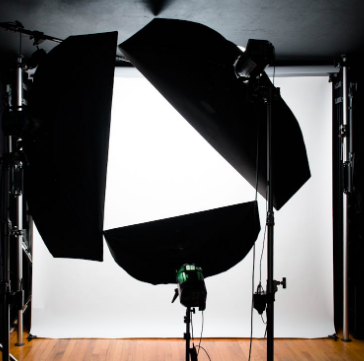
This setup involves three lights and takes the shape of a triangle. You must leave a little room for the backlight for it to be successful. The subject must be separated from the background.
Triangle setup images the image look a little less flat and are also commonly used for portrait photography.
8. Separation Setup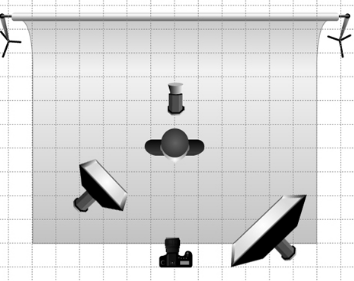
Let’s say you want to capture a black product against a dark background. The odds of your product being less prominent are quite high so you need to be really tactful here. The separation setup is given this name for a reason. It separates the object from the background.
You need three lights to create this setup. Newbies confuse the separation setup with the triangle setup. The key difference between both is that the focus of the light is on the back of the product in a triangle and on the walls for the separation setup.
Thank you for reading this post…🙂
Note: Interested to know about Lighting Tips for Product Photography? Read here.
Frequently Asked Questions (FAQs): Product Photography
1. What Makes the Product Photography Unique?
Product photography is an interesting niche. The success of your photography is dependant on several factors. The list below mentions the most important ones.
- Product Photography Ideas
- Product Photography Lighting Tips and Techniques
- Camera and Lens
- Angle
- Light and Shadow Ratio
2. How does Product Photography Benefit Business Owners?
The audience today wants to see the real image of the product instead of relying on what you tell them about your product. Good product photography will:
- Compel the audience to buy your product
- Highlight the salient features of your product
- Give an attractive shape to your website and social media pages
- Communicate without adding a lot of text on the web page
- Give you a competitive edge over others selling similar product range
3. Can We Capture Multiple Products in a Single Frame?
It is on you to decide whether you want to capture the products individually or in a group. However, there shouldn’t be more than 3 to 4 products in one frame to avoid clutter. Also, adding a lot of products develops confusion among the audience.
The number of products should be such that the audience is easily available to absorb what is being conveyed through the image. The composition and lighting should separate one product from the other.
4. Is It Feasible to Do Product Photography at Home?
Of course, it is! All you need to have is enough space to shoot your products and the right equipment topped with some enthusiasm and knowledge of this domain. We have included the list of relevant equipment in this article.
5. What are the Best Food Photography Lighting Techniques?
It is best to capture food items in diffused natural light as it actually makes the food look utterly tempting. Using in-built flash is something to be avoided at all costs when photographing your food. There is no doubt about the fact that lighting for food videography or photography is somewhat tricky.
Some of the best food photography tricks include the following:
- Use natural light wherever possible
- Keep moving your camera unless you find the best natural light angle
- Don’t forget to use reflectors and diffusers
- Strobe lights work best for a professional touch
Final Thoughts on Product Photography Lighting Techniques
Product photography ideas and techniques know no bounds. It wouldn’t be wrong to say that it revolves around experimentation and of course, your eagerness to explore different dimensions to it.
Although there are several lighting techniques, not all are the best for what you want to capture. It is a matter of trial and error and eventually, you find the best product photography lighting techniques.
Start experimenting now and discover new horizons!
{ "@context": "https://schema.org/", "@type": "FAQPage", "mainEntity": [ { "@type": "Question", "name": "What Makes the Product Photography Unique?", "acceptedAnswer": { "@type": "Answer", "text": "Product photography is an interesting niche. The success of your photography is dependant on several factors. The list below mentions the most important ones. Product Photography Ideas Product Photography Lighting Techniques Camera and Lens Angle Light and Shadow Ratio" } }, { "@type": "Question", "name": "How does Product Photography Benefit Business Owners?", "acceptedAnswer": { "@type": "Answer", "text": "The audience today wants to see the real image of the product instead of relying on what you tell them about your product. Good product photography will: Compel the audience to buy your product Highlight the salient features of your product Give an attractive shape to your website and social media pages Communicate without adding a lot text on the web page Give you a competitive edge over others selling similar product range" } }, { "@type": "Question", "name": "Can We Capture Multiple Products in a Single Frame?", "acceptedAnswer": { "@type": "Answer", "text": "It is on you to decide whether you want to capture the products individually or in a group. However, there shouldn’t be more than 3 to 4 products in one frame to avoid clutter. Also, adding a lot of products develops confusion among the audience. The number of products should be such that the audience is easily available to absorb what is being conveyed through the image. The composition and lighting should separate one product from the other." } }, { "@type": "Question", "name": "Is It Feasible to Do Product Photography at Home?", "acceptedAnswer": { "@type": "Answer", "text": "Of course, it is! All you need to have is enough space to shoot your products and the right equipment topped with some enthusiasm and knowledge of this domain. We have included the list of relevant equipment in this article." } }, { "@type": "Question", "name": "What are the Best Food Photography Lighting Techniques?", "acceptedAnswer": { "@type": "Answer", "text": "It is best to capture food items in diffused natural light as it actually makes the food look utterly tempting. Using in-built flash is something to be avoided at all costs when photographing your food. There is no doubt about the fact that lighting for food videography or photography is somewhat tricky." } } ] }


