How to Take Good Product Photos! Any online store needs to have product photos. If customers need to be made aware of the appearance of your products, how can you expect them to purchase from you? This post will discuss how to take product photos for your e-commerce site to attract the proper customers. You can also employ picture lightboxes when photographing your product to get better results. { "@context": "https://schema.org/", "@type": "HowTo", "name": "How to Shoot Product Photography", "description": "Product photography is a key element to any online store. How can you expect people to buy from you if they don’t know what your products look like? In this article, we will go over how to shoot product photography for your e-commerce site and make sure that it attracts the right buyers! You can also use photo lightboxes to photograph your product to get better results.", "image": "https://photolightboxes.net/wp-content/uploads/2022/01/for-Shoot-Product-Photography.png", "totalTime": "PT10M", "estimatedCost": { "@type": "MonetaryAmount", "currency": "USD", "value": "10$" }, "supply": [ { "@type": "HowToSupply", "name": "camera" } ], "tool": [ { "@type": "HowToTool", "name": "tripod" } ], "step": [ { "@type": "HowToStep", "text": "One of the most important things you can do when taking product photos is use remote control. If your goal is to make it seem like an appliance or something else in settings where there are no objects around, then this will be necessary for getting that perfect pose without having any clutter on the screen at once!", "image": "https://photolightboxes.net/wp-content/uploads/2022/01/for-Shoot-Product-Photography.png", "name": "CAMERA AND REMOTE CONTROL", "url": "https://photolightboxes.net/how-to-shoot-product-photography/#Camera_and_remote_control" }, { "@type": "HowToStep", "text": "You can use natural or artificial light to create product photography that is both aesthetically pleasing, but also accurate.\n\nA great way for sourcing lighting ideas would be looking at what other people might not think of as possible sources- such things as candle wax lit by candles close by!", "image": "https://photolightboxes.net/wp-content/uploads/2022/01/Lighting-1.png", "name": "LIGHTING", "url": "https://photolightboxes.net/how-to-shoot-product-photography/#Lighting" }, { "@type": "HowToStep", "text": "A photographer’s most valuable tool is their tripod. It allows for stability and balance, which means more accurate shots that you can be thrilled about!\n\nTripod gear use in product photography is not new. Today tripods are an industry-standard because they help photographers maintain consistent angles and reduce camera shake when shooting from high vantage points or on uneven surfaces such as boat decks where there’s no sturdy ground beneath your feet.”", "image": "https://photolightboxes.net/wp-content/uploads/2022/01/Tripod.png", "name": "TRIPOD", "url": "https://photolightboxes.net/how-to-shoot-product-photography/#Tripod" } ] }
Deciding on your photography equipment
Here is some of the gear that was used for the shoot.
-
Camera and remote control
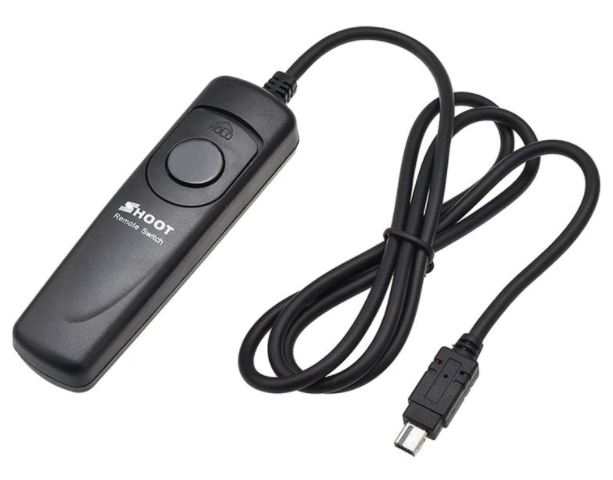
Utilizing a remote control is one of the most crucial things you can do when taking product shots. This will be required to achieve the ideal stance without clutter on the screen at once if your objective is to make it appear to be an appliance or something else in scenarios when no other things are nearby.
-
Lighting
To produce product photography that is accurate and aesthetically acceptable, you can utilize either natural or artificial light.
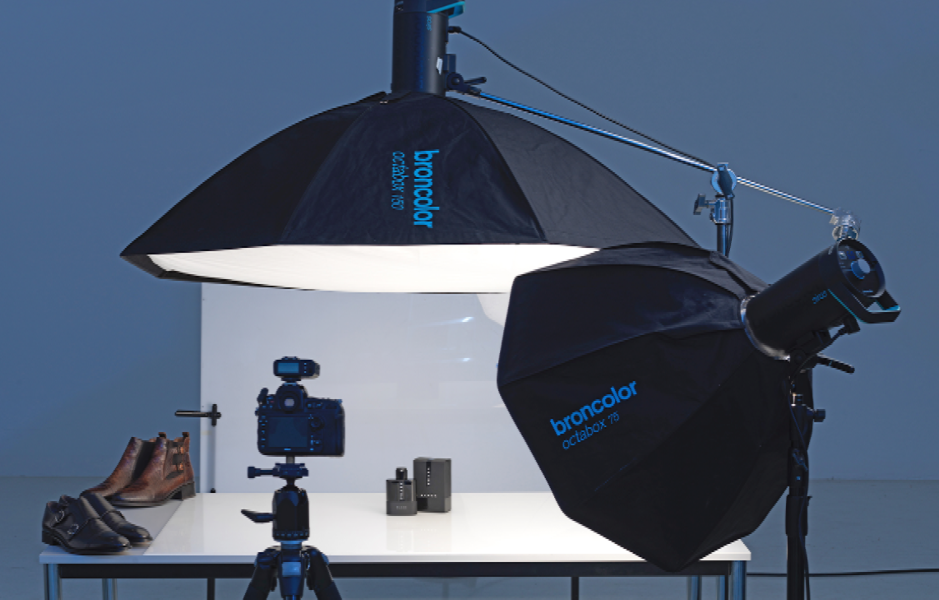
Looking at sources others consider less viable, such as candle wax lighted by nearby candles, is a terrific way to find lighting options.
-
Tripod
The tripod is a photographer’s most important piece of gear. You can be excited about more accurate shots because they allow stability and balance.
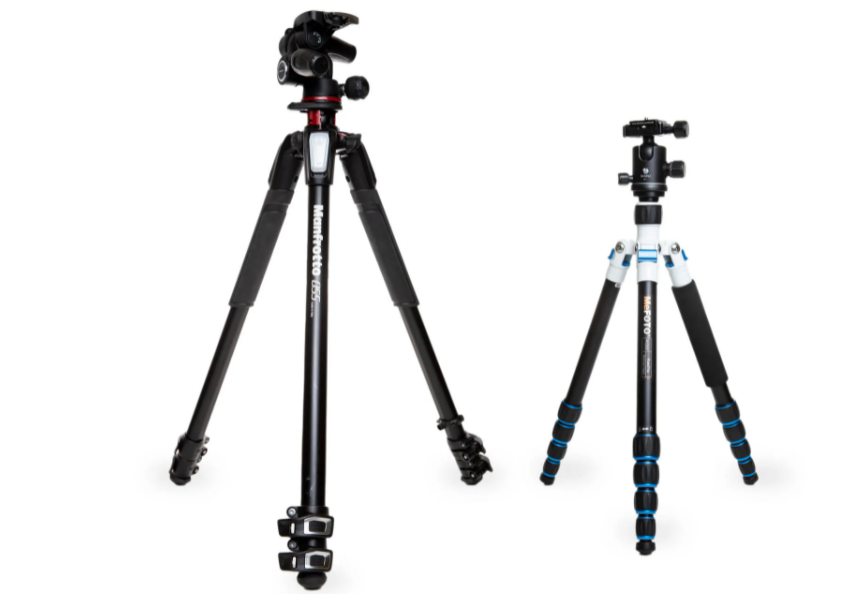
Photographing products using tripods has been introduced previously. Since they enable photographers to maintain constant angles and minimize camera motion when shooting from elevated positions or uneven terrain like boat decks without a solid platform beneath your feet, tripods have become the industry standard.
Setting up your photoshoot
A spotless, well-lit environment with few distractions makes the ideal setting for product photography. Use the same background you would if you were shooting a portrait of a person to ensure your pictures turn out nice and aren’t blurry or jagged (or, to put it another way, not smooth). The best material to use is white muslin because of its even tone, which helps to create clear images and eliminates shadows from dark objects placed next to brighter ones.
Procedure
- Once your studio is constructed, you must conduct some testing
- Shoot a photo in the spot where the final photographs will be taken; if a particular room needs to be used, do not shoot the images in your studio.
- I am photographing on a reflecting surface, I have encountered numerous difficulties while attempting to light objects without creating shadows or light reflections in the photographs.
- Therefore, you must take several ‘flat’ images after your location test to position the items correctly on the final product.
- With your camera set to manual, start taking flat photos to understand the appropriate aperture and lens length for various products.
- It will be challenging to add depth to your image in the final place if it’s a light or something similar, so it’s best to figure it out now.
- If the background for your test photographs differs from the one you’ll use for the actual shoot, find a different experience for them once you have them.
- Create frames that show how you want the things to look in their final places using these photographs.
- Remember to add shadows and reflections to make them as realistic as possible.
- The greatest thing you can do with these is snap some actual pictures of the item against a background to get an idea of how it will appear. Consider subtleties when selecting a location for jewelry images.
- You can start creating your frames once your flat photos have been blown up to at least A3 size.
Conclusion
You’ll discover that this procedure involves a lot of trial and error; if you manage to get it perfect the first time, congratulations! For the sake of your photography, it is beneficial for you to be aware of product photography lighting techniques.
Thank you for reading this post…🙂


