Mountain Photography Tips! Mountain photography can be an incredibly rewarding experience. Not only do you get to capture some of the most beautiful scenes in the world, but you also have to contend with the various challenges that come with shooting in these environments. From dealing with cold weather to getting shots that don’t include any sign of civilization, there are a lot of things to consider when taking pictures on a mountain.
Mountains are one of the most popular subjects for photography. They offer a variety of landscapes, from snow-capped peaks to sweeping meadows, and can be photographed from a variety of angles. Whether you’re a beginner looking for new photographic challenges or an experienced photographer looking to find new ways to photograph mountains. In this article, we will discuss mountain photography tips.
Mountain Photography Tips
Mountain photography can be a challenging and rewarding pursuit. Here are some tips to help make your photos look their best:
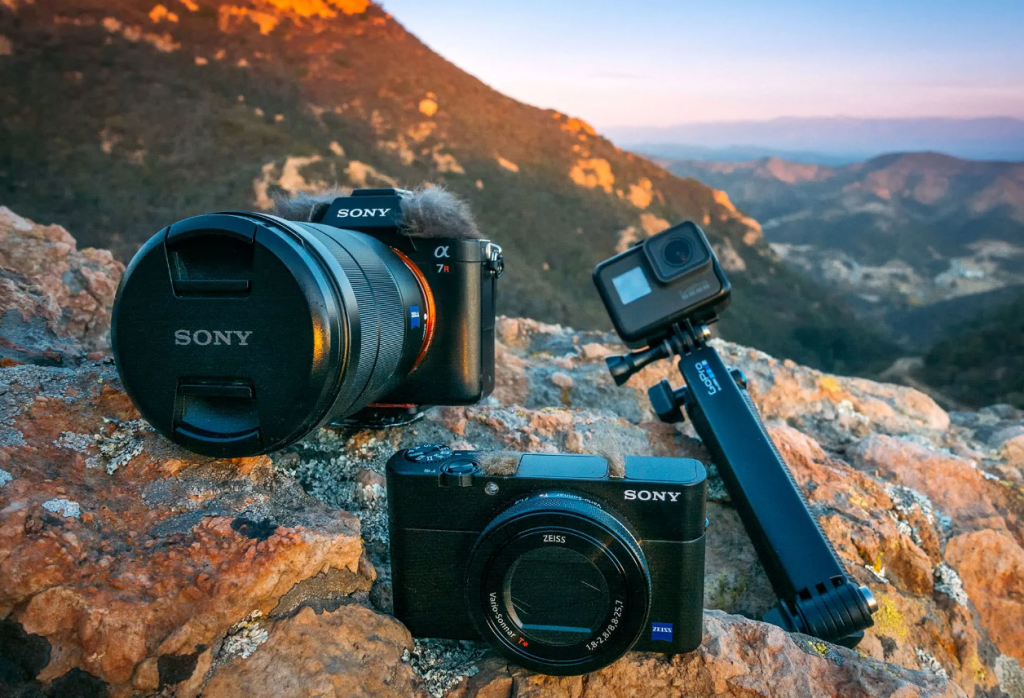
1. Get the Right Equipment
When you go mountain biking, you need to have the right equipment. This is especially true for photography enthusiasts who want to take pictures while they’re on their bikes. You’ll need a good camera and a tripod that can attach to your bike. You’ll also need a good helmet and some safety gear. Make sure that you have everything you need before you head out on your next biking adventure.

The key to taking great mountain biking photos is to make sure that your camera is stable. This means that you’ll need to use a tripod or some other type of stabilization device. If you don’t have a tripod, you can use your bike as a makeshift stand. Just make sure that your camera is secure before you start riding.
Another thing to keep in mind when taking mountain biking photos is composition. Try to find interesting vantage points and capture the scenery around you.
2. Use a Wide-angle Lens
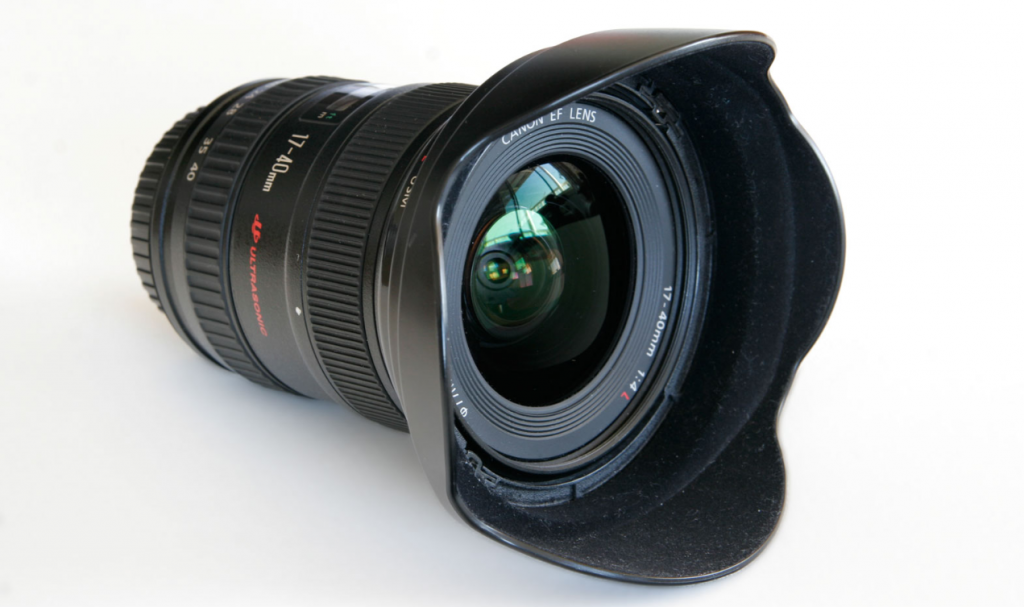
When photographing mountains, it’s best to use a wide-angle lens to capture the scene in its entirety. This will allow you to get close to the foreground and show the size and scope of the mountains in the background. Be sure to use a tripod so that you can capture sharp images, even in low light. If there’s snow on the ground, try to frame your shot with some of the trees or bushes in the foreground for a more interesting composition.
3. Shoot During the Right Time of Day
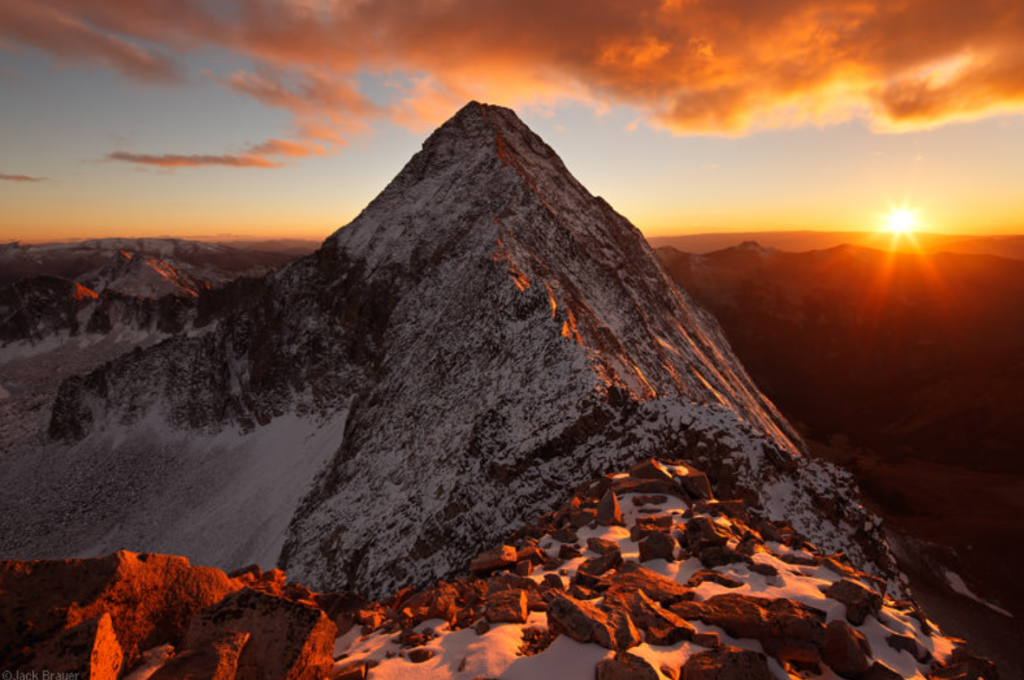
When photographing mountains, it’s important to shoot during the right time of day. The best time is typically early morning or late afternoon when the sun is behind you and casts a beautiful light on the mountains. Shooting during the midday sun can be harsh and cause harsh shadows. If you’re looking to capture a silhouette of the mountains, shoot at sunset when the sky is orange and red.
4. Use Filters to Enhance Your Photos

If you’re into mountain photography, using filters is a must if you want to get the most out of your shots. While there are many different filters available on the market, a few basic ones will get you started. A circular polarizer is great for removing glare and increasing color saturation. A neutral density filter can be used to reduce light intensity and allow for longer exposures, while a graduated ND filter can help balance the light in a scene with a bright sky and dark foreground. By using these filters in combination with each other, you can achieve more dynamic and interesting photos.
5. Scout Your Location and Plan Your Shots
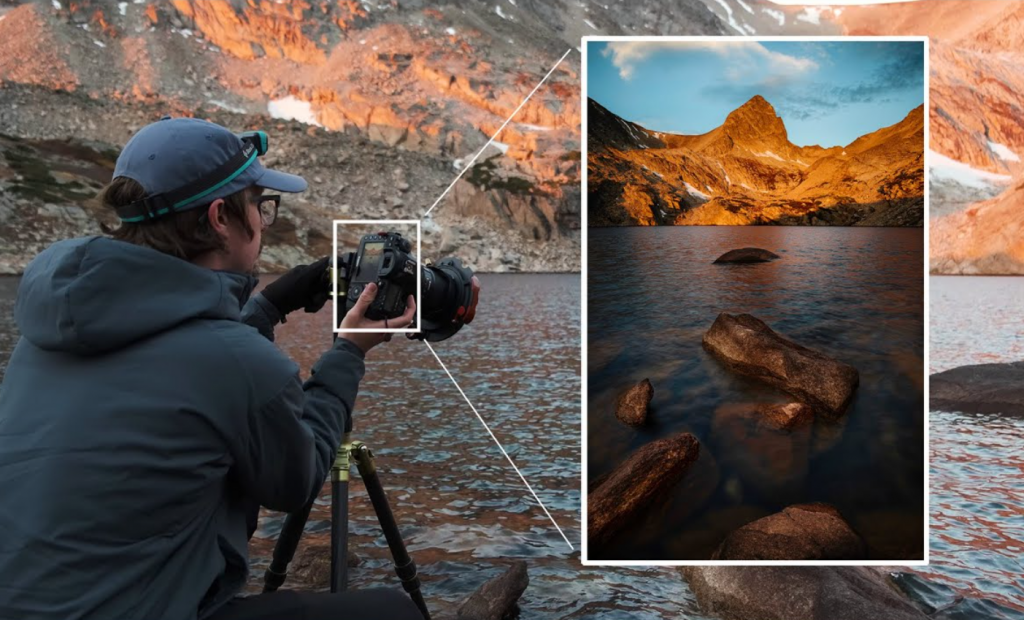
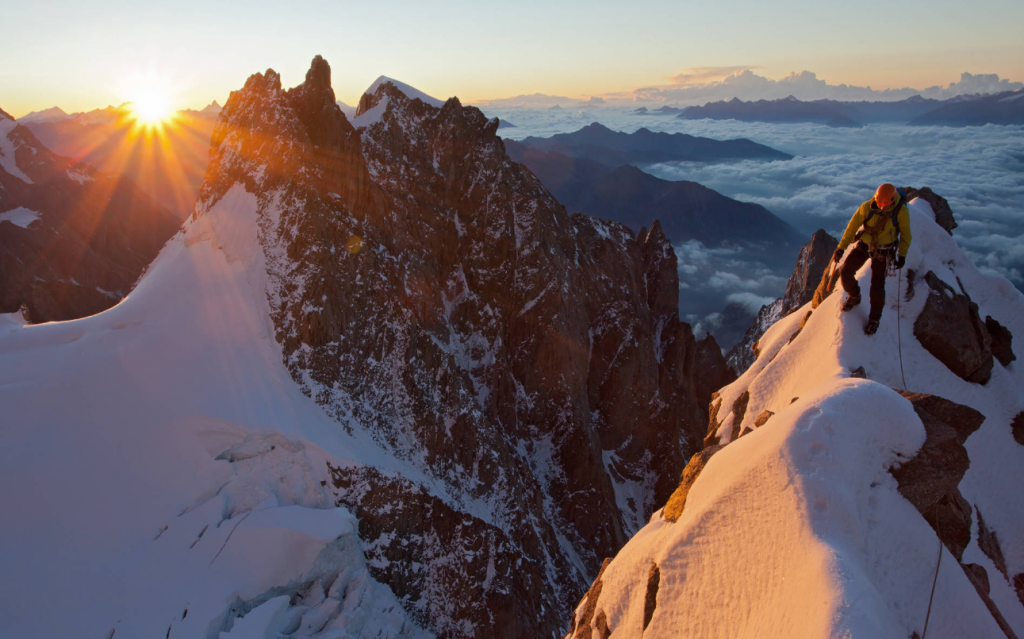
If you’re looking to take great mountain photos, scouting your location and planning your shots is key. Get to know the area you’ll be shooting in; study the landscape and look for compositions that interest you. Try to find vantage points that will give you good views of the mountain peaks, and avoid shooting from directly below or behind them. Once you’ve scouted out a good location, plan your shots ahead of time. Decide what type of photo you want to capture, and then figure out the best way to frame it.
6. Take Care of Your Camera and Equipment
Taking care of your camera and equipment is key when mountain photography. Make sure you have a sturdy tripod that will not blow over in the wind. Pack extra batteries, as cold weather can drain them quickly, and bring a lens cloth to clean off any moisture or snow. If you are going to be hiking to get to your shooting location, make sure you have a comfortable backpack that will protect your camera gear. And finally, always be aware of the weather conditions and pack appropriately!
7. Edit Your Photos for the Best Results
When you are out in nature, taking pictures is the last thing on your mind. But if you want to make the most of your photos, it’s worth spending a little time editing them.

You can improve the quality of your photos by doing a few things. Crop them so that the subject is in the center of the frame, and adjust the brightness and contrast to make sure everything is clearly visible.
Also, be sure to use a photo editor to remove noise from your photos and sharpen them up. These small changes can make a big difference in the overall quality of your photos. { "@context": "https://schema.org/", "@type": "HowTo", "name": "Mountain Photography Tips", "description": "Mountain Photography Tips! Mountain photography can be an incredibly rewarding experience. Not only do you get to capture some of the most beautiful scenes in the world, but you also have to contend with the various challenges that come with shooting in these environments. From dealing with cold weather to getting shots that don’t include any sign of civilization, there are a lot of things to consider when taking pictures on a mountain.", "image": "https://photolightboxes.net/wp-content/uploads/2022/06/Mountain-Photography-Tips-1-1-1024x680.png", "totalTime": "PT10M", "estimatedCost": { "@type": "MonetaryAmount", "currency": "USD", "value": "10$" }, "supply": [ { "@type": "HowToSupply", "name": "camera" } ], "tool": [ { "@type": "HowToTool", "name": "tripod" } ], "step": [ { "@type": "HowToStep", "text": "When you go mountain biking, you need to have the right equipment. This is especially true for photography enthusiasts who want to take pictures while they’re on their bikes. You’ll need a good camera and a tripod that can attach to your bike. You’ll also need a good helmet and some safety gear. Make sure that you have everything you need before you head out on your next biking adventure.", "image": "https://photolightboxes.net/wp-content/uploads/2022/06/Get-the-Right-Equipment-1024x632.png", "name": "Get the Right Equipment", "url": "https://photolightboxes.net/mountain-photography-tips/#1_Get_the_Right_Equipment" }, { "@type": "HowToStep", "text": "When photographing mountains, it’s best to use a wide-angle lens to capture the scene in its entirety. This will allow you to get close to the foreground and show the size and scope of the mountains in the background. Be sure to use a tripod so that you can capture sharp images, even in low light. If there’s snow on the ground, try to frame your shot with some of the trees or bushes in the foreground for a more interesting composition.", "image": "https://photolightboxes.net/wp-content/uploads/2022/06/Use-a-Wide-angle-Lens-1-1024x607.png", "name": "Use a Wide-angle Lens", "url": "https://photolightboxes.net/mountain-photography-tips/#2_Use_a_Wide-angle_Lens" }, { "@type": "HowToStep", "text": "When photographing mountains, it’s important to shoot during the right time of day. The best time is typically early morning or late afternoon when the sun is behind you and casts a beautiful light on the mountains. Shooting during the midday sun can be harsh and cause harsh shadows. If you’re looking to capture a silhouette of the mountains, shoot at sunset when the sky is orange and red.", "image": "https://photolightboxes.net/wp-content/uploads/2022/06/Shoot-During-the-Right-Time-of-Day-1024x639.png", "name": "Shoot During the Right Time of Day", "url": "https://photolightboxes.net/mountain-photography-tips/#3_Shoot_During_the_Right_Time_of_Day" }, { "@type": "HowToStep", "text": "If you’re into mountain photography, using filters is a must if you want to get the most out of your shots. While there are many different filters available on the market, a few basic ones will get you started. A circular polarizer is great for removing glare and increasing color saturation. A neutral density filter can be used to reduce light intensity and allow for longer exposures, while a graduated ND filter can help balance the light in a scene with a bright sky and dark foreground. By using these filters in combination with each other, you can achieve more dynamic and interesting photos.", "image": "https://photolightboxes.net/wp-content/uploads/2022/06/Use-Filters-to-Enhance-Your-Photos-1024x558.png", "name": "Use Filters to Enhance Your Photos", "url": "https://photolightboxes.net/mountain-photography-tips/#4_Use_Filters_to_Enhance_Your_Photos" }, { "@type": "HowToStep", "text": "If you’re looking to take great mountain photos, scouting your location and planning your shots is key. Get to know the area you’ll be shooting in; study the landscape and look for compositions that interest you. Try to find vantage points that will give you good views of the mountain peaks, and avoid shooting from directly below or behind them. Once you’ve scouted out a good location, plan your shots ahead of time. Decide what type of photo you want to capture, and then figure out the best way to frame it.", "image": "https://photolightboxes.net/wp-content/uploads/2022/06/Scout-Your-Location-and-Plan-Your-Shots-1024x620.png", "name": "Scout Your Location and Plan Your Shots", "url": "https://photolightboxes.net/mountain-photography-tips/#5_Scout_Your_Location_and_Plan_Your_Shots" }, { "@type": "HowToStep", "text": "Taking care of your camera and equipment is key when mountain photography. Make sure you have a sturdy tripod that will not blow over in the wind. Pack extra batteries, as cold weather can drain them quickly, and bring a lens cloth to clean off any moisture or snow. If you are going to be hiking to get to your shooting location, make sure you have a comfortable backpack that will protect your camera gear. And finally, always be aware of the weather conditions and pack appropriately!", "image": "https://photolightboxes.net/wp-content/uploads/2022/06/Take-Care-of-Your-Camera-and-Equipment-1024x698.png", "name": "Take Care of Your Camera and Equipment", "url": "https://photolightboxes.net/mountain-photography-tips/#6_Take_Care_of_Your_Camera_and_Equipment" }, { "@type": "HowToStep", "text": "When you are out in nature, taking pictures is the last thing on your mind. But if you want to make the most of your photos, it’s worth spending a little time editing them. \n\nYou can improve the quality of your photos by doing a few things. Crop them so that the subject is in the center of the frame, and adjust the brightness and contrast to make sure everything is clearly visible. \n\nAlso, be sure to use a photo editor to remove noise from your photos and sharpen them up. These small changes can make a big difference in the overall quality of your photos.", "image": "https://photolightboxes.net/wp-content/uploads/2022/06/Edit-Your-Photos-for-the-Best-Results-1024x650.png", "name": "Edit Your Photos for the Best Results", "url": "https://photolightboxes.net/mountain-photography-tips/#7_Edit_Your_Photos_for_the_Best_Results" } ] }
Conclusion
In conclusion, mountain photography can be a challenging and rewarding pursuit. By following the tips in this article, you can improve your chances of capturing great photos of mountains. Remember to always take safety precautions when hiking and photographing in the mountains, and to have fun while exploring this beautiful part of the world.


