Beginning Photography Equipment! Starting photography can be a daunting task. There are so many options and it is difficult to know where to start. In this article, we will discuss some of the most important equipment for beginners in order to help you get started. We will also show you how these items relate to each other and work together as part of your photography kit.
Beginning Photography Equipment
Let’s Start,
Here is some equipment that is mostly used in photography.
1. The Camera
Different types of cameras are used to take pictures. Some that you may know include DSLR camera (Digital Single Lens Reflex), Point and Shoot Camera, or instant. Many people have been incorporating the use of cameras in their work. A camera is an essential tool, and it can be put to many different uses!
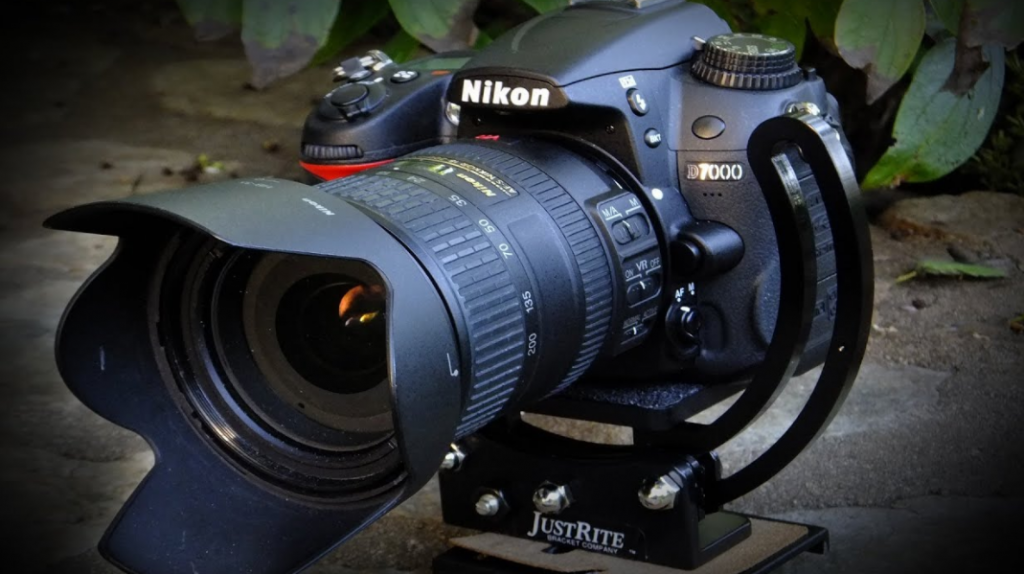
A photographer may take pictures for themself or others as well; a model might want some photographs done before going on stage with make-up applied meticulously by hairstylists who specialize only in this field (which would require multiple shots); fashion designers that need promotional images shoot from behind scenes where products are being used etc., there’s really no end.
2. Lenses
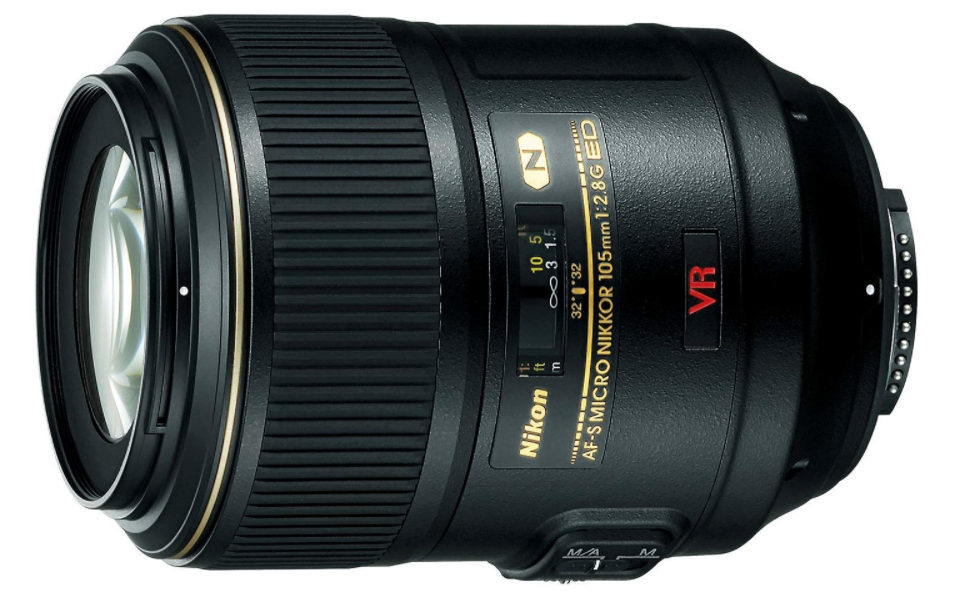
The lens is one of the most important pieces of equipment in photography. Lenses are the most important component of any camera. Without them, we can’t take pictures! The type, size, and focal length determine what you will be able to capture with your camera as well as how close or far away from an object it can see clearly that determines its field-of vantage point for use within any given scene being depicted at the time – this article discusses some types available today!
3. A Tripod
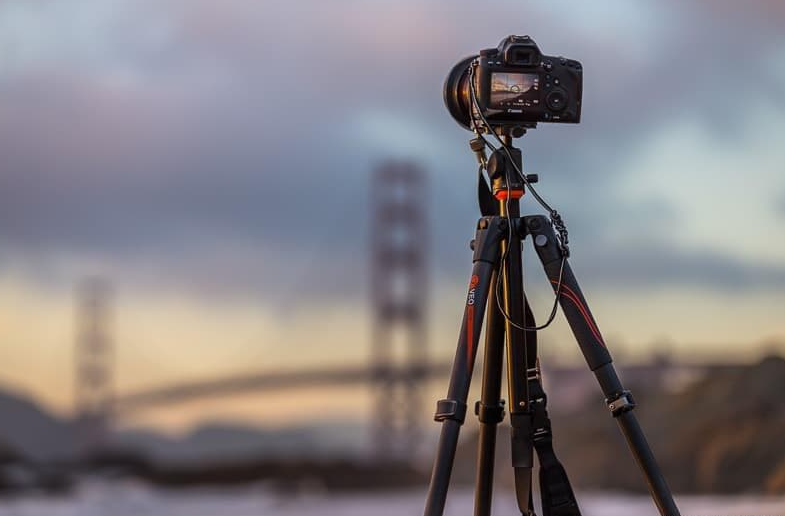
The Tripod is an essential tool for any photographer. It holds up cameras and lenses, stabilizes them by holding three legs in place that extends from the center post on each side of the camera, or touches down onto a flat surface when set upright without Cameras attached; making it easy to level your shot along with providing stability while focusing away from unpredictable weather conditions like windy days which can cause blurs!
4. Software
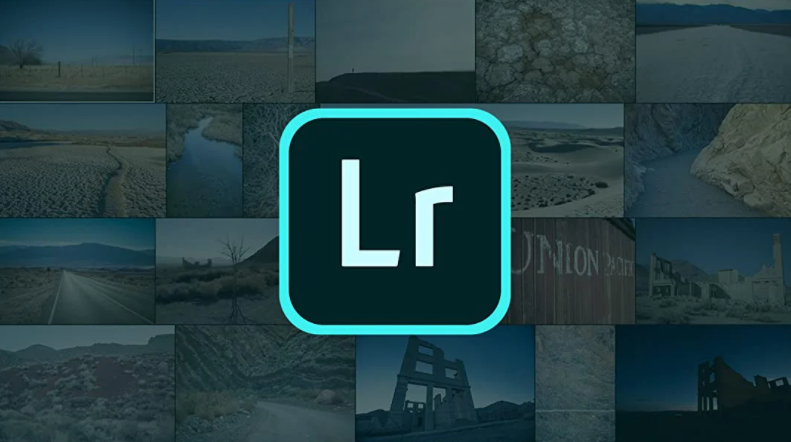
The use of software in photography has been on the rise for years. The most popular programs include Adobe Photoshop and Adobe Lightroom, which are used to edit pictures as well adjust camera settings or create artistic effects like blurring objects while defocusing others – all using intuitive tools designed specifically with photographers’ needs foremost throughout its development process!
5. Monitors
Monitors are a vital component of any photographer’s equipment. They allow you to see the image on screen exactly as it will appear when printed, which is an invaluable tool for assessing exposure and composition before pressing that shutter button!
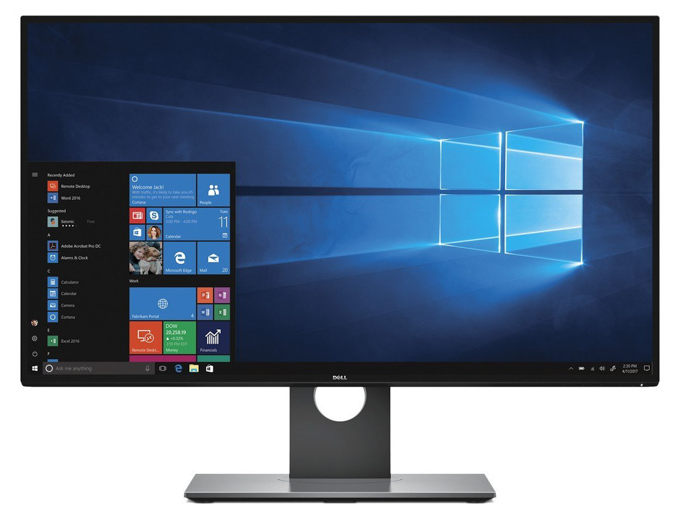
The monitor is a device used for editing pictures in photography. It has several different settings, including brightness and contrast which can be adjusted to give your photo the best quality possible.
Newer models also have high-resolution screens so they can display photos at full size instead of downsized ones seen on old CRTs; these factors make them perfect in conjunction with today’s DSLR cameras or CMOS sensors equipped phones like iPhone 6s Plus.”
6. Lighting
Lighting is an essential aspect of the quality of your photos. The type and placement can make all, or at least a lot of difference in what you end up capturing on film – from subtle changes like shadows to dramatic choices such as white balancing!
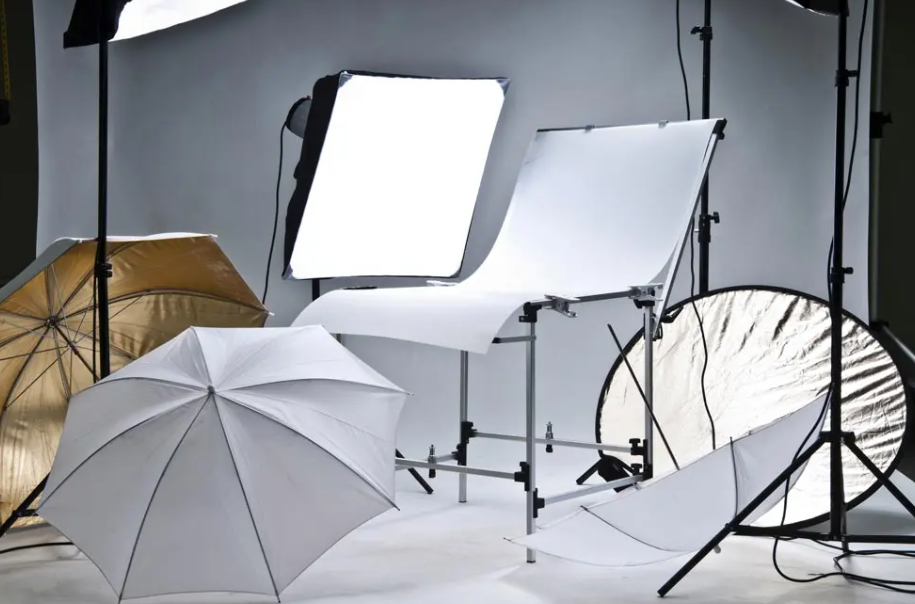
When you’re taking pictures, it’s important that the lighting is flattering and not excessive. This can make all of a difference in your finished product! It is good for you to know about Product Photography Lighting Techniques for the purpose of your photography.
A photo with poor lighting will often come off as flat or washed out whereas an exposed by this type of light might look natural yet still have depth because we are able to capture what happens naturally without being distracted by heavy shadows on our subjects’ faces which would take away from their beauty instead showing them up like they should be seen
7. Filters
Photography is a very visual form of art, and if you want your pictures to look their absolute best then filters are essential. There’s something about seeing everything from an ultra-elegant black & white photo up close that makes even the simplest moments feel so much more meaningful than they would without them!
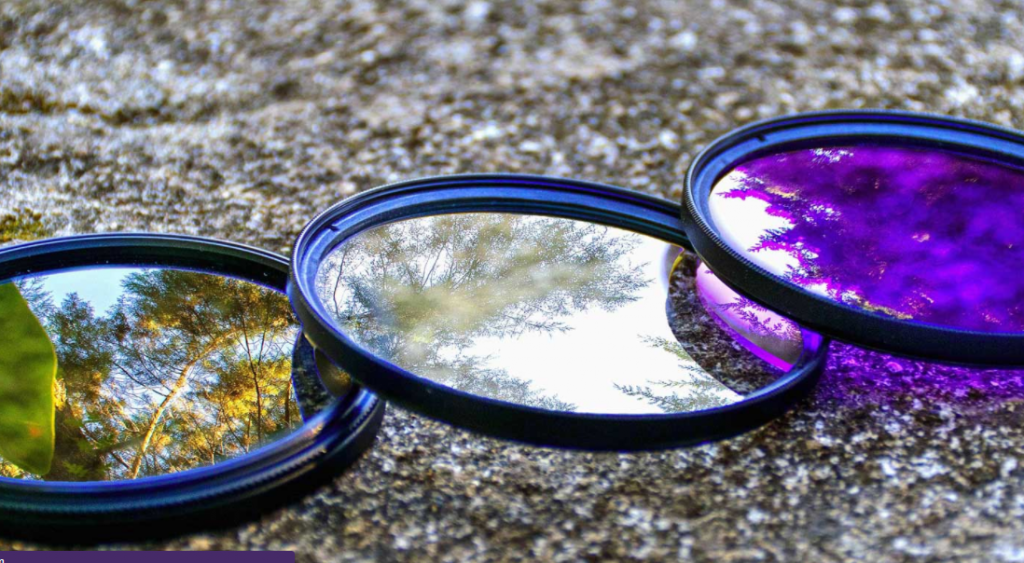
There can be several different types available depending on what style suits most; some options include warming hues for autumn leaves or cooling blues in winter landscapes photography there really isn’t one right choice unless we’re talking about special effects such as HDR (High Dynamic Range) photography which requires high dynamic range sensors capable not just at capturing detail but also subtlety too.
8. Extras
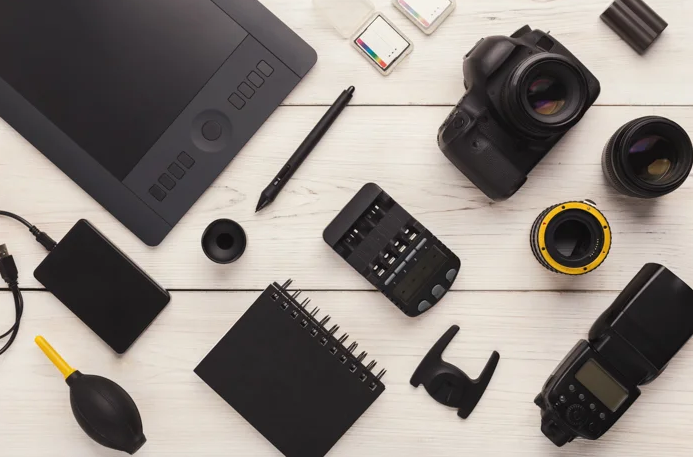
The Extras Equipment is a camera and lighting kit that includes all of the accessories you need for any type of shoot. It’s perfect to have at hand when traveling abroad or just in case your favorite photo op moves locations!
Conclusion
Don’t let the equipment logistics put you off from taking great photos! There are many ways to get started with DSLR photography, and what’s most important is that your work is perfect. With these tools at hand, it will be easy for anyone who sees them to know how talented (and dedicated) this blogger or photographer really was.
Thank you for reading this post…🙂
Note: Interested to know about Tips for Sunset Photography? Read here.
Frequently Asked Questions
Q1:What equipment is needed to start photography?
A1:To start photography, you’ll need essential equipment, including a camera (DSLR or mirrorless), at least one versatile lens, a sturdy tripod, and a reliable memory card. Additional items like a camera bag, lens cleaning kit, and extra batteries can also benefit a smooth photography experience.
Q2:How do beginner photographers start out?
A2:Beginner photographers can start by getting a primary camera, learning through online tutorials, practising regularly, and seeking guidance from experienced photographers in online communities. As you progress, consider investing in more gear to expand your skills and creativity.
Q3:How can I teach myself photography?
A3:Teaching yourself photography involves starting with a primary camera, utilizing online resources, practising consistently, experimenting with settings and subjects, and seeking guidance from photography communities.
Q4:What should I charge as a beginner photographer?
A4:As a beginner photographer, your pricing should reflect your skill level and experience. Consider charging a modest fee that covers your expenses and time but remains competitive within your local market. As you gain experience and build a portfolio, gradually increase your rates to align with your improving skills and the value you provide to clients.


