How to Use Your iPhone to Take Product Photos! It’s hardly surprising that more and more individuals are using their smartphones to take pictures of the goods they want to sell in a world where almost everyone has a smartphone in their pocket. While some excellent iPhone apps can assist you in taking better product shots, you can do a few things to ensure your images look their best. This article will discuss using an iPhone to capture product shots. This is an excellent method for taking product photos without a professional camera. We’ll go over shot preparation, lighting, and composition.
How to Take Product Photos With iPhone
Here are four pointers for taking better iPhone product photos:
1. Use a Room with Good Lighting
A space with decent lighting is the first thing you’ll need for your photos. Especially when taking iPhone product shots, use natural lighting! Find out what kind of window in the house is the source of this beautiful light, and attempt to photograph as close to it as possible to get softer shadows into focus without any annoying shadings. Due to the lack of natural light in most frames, placing objects away from areas with only artificial light sources like lamps or fixtures gives them a slightly sharper appearance.
2. Choose Your Smartphone
Nowadays, most smartphones have cameras that are excellent alternatives to DSLRs for photographing products. A phone with the most excellent megapixel count on its camera is ideal for taking pictures of products. Your images will come out better the higher they are! Since Apple phones (like the iPhone) frequently rate well on our list of the finest cameras when snapping images of things in various lighting conditions or at varying distances from an object, I advise utilizing them. But there’s no need to get technical; if you want excellent photos without having too much trouble managing all those annoying shadows, every new smartphone manufactured within the last two years should have more than 12 megapixels worth its pixel size!
3. Mini Tripod
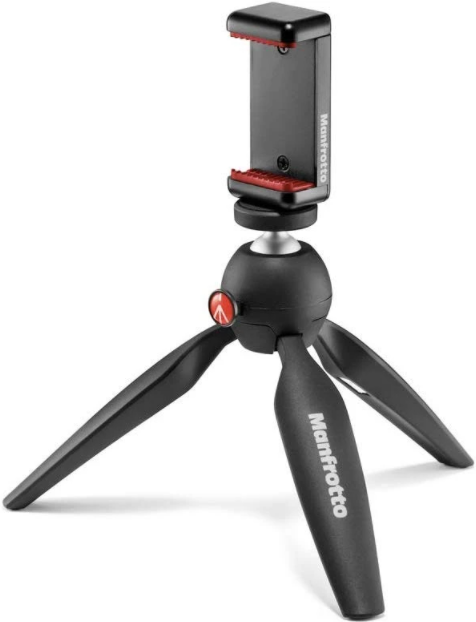
Mini tripods are excellent for helping you find the ideal angle and stabilize your camera. They’ll enable you to snap pictures without investing in pricey equipment that matches the color schemes of all different things! If a mini-tripod isn’t just what you need, don’t worry; we also have other options.
4. Use a Photo Lightbox
Use a photo lightbox or a tiny light tent for the best effects. To create the best product photographs for your online store, utilize these enclosed boxes with a white background and a vibrant setup. They come in a variety of sizes and forms and have great features.
5. Set up Your Background
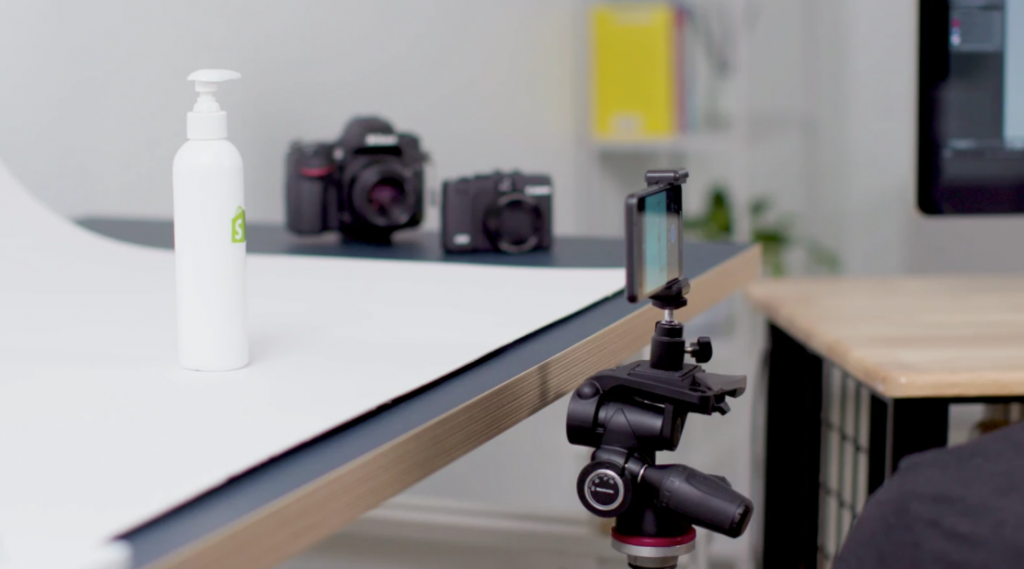
Take advantage of a white or grey background for the most significant effects. The best option is a sweep because it will fill up beneath and behind your products while constantly reflecting light on their surface! Try something like seamless paper, which is typically accessible close to my flat and is offered at many photographic stores, for a less complicated solution with less difficulty.
6. Position Your Product
Making sure your product is tidy and complete is crucial. Check out these suggestions to reduce shadows when your product stands or rests against anything. Punch holes in the background paper with an eyelet setter, then suspend the object from the frame using a fishing wire.
Stuff hats, bags, or other items you’re shooting with clothing or tissue paper to make them appear full.
7. Get Your Smartphone Ready

Keep your phone clean if you want to take the finest images possible! We know that because our phones are always in contact with us, they accumulate dust. Flare is unnecessaryoptional if the iPhone case is made of metal or plastic because such materials don’t transmit light as well as glass.
8. Shooting with Your Smartphone
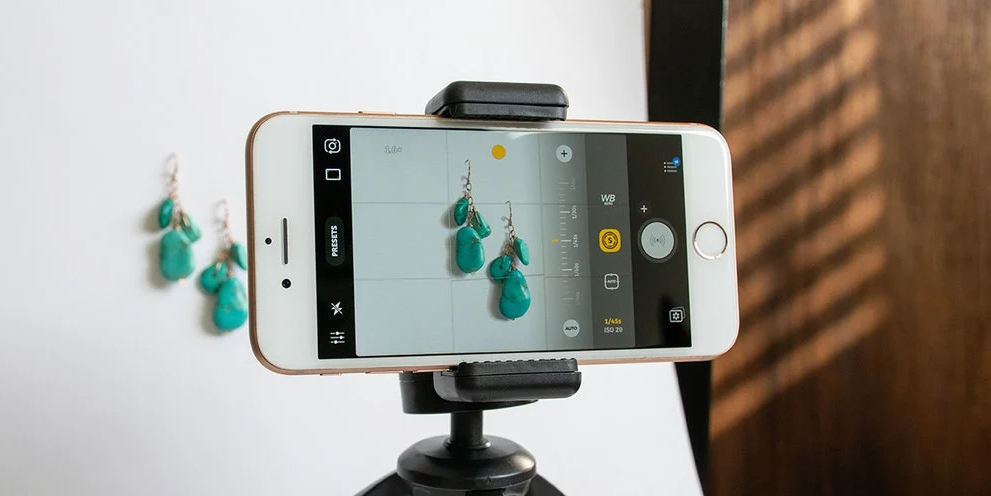
Now, start using your iPhone to take images.
Also, Read >> How to Shoot Product Photography?
Frequently Asked Questions
Q1: Can I take high-quality product photos with an iPhone?
A1: You can take high-quality product photos with an iPhone by using its advanced camera features and following photography best practices.
Q2: What are some tips for achieving sharp focus in iPhone product photos?
A2: To achieve sharp focus, tap the subject on the iPhone screen to set the focus point, and use a tripod or stable surface to reduce camera shake.
Q3: How can I control exposure and brightness when taking product photos with an iPhone?
A3: You can control exposure by tapping the screen and adjusting the exposure slider that appears. Additionally, you can lock the exposure by pressing and holding on the screen until the AE/AF Lock icon appears.
Q4: Can third-party apps or accessories enhance iPhone product photography?
A4: Yes, there are third-party camera apps and accessories like tripods, lens attachments, and lighting equipment that can enhance the quality of your iPhone product photos.
Q5: What is the importance of good lighting when taking product photos with an iPhone?
A5: Good lighting is essential for product photography as it affects the overall image quality, color accuracy, and eliminating shadows or reflections. Utilize natural light or supplementary lighting to achieve the best results.


