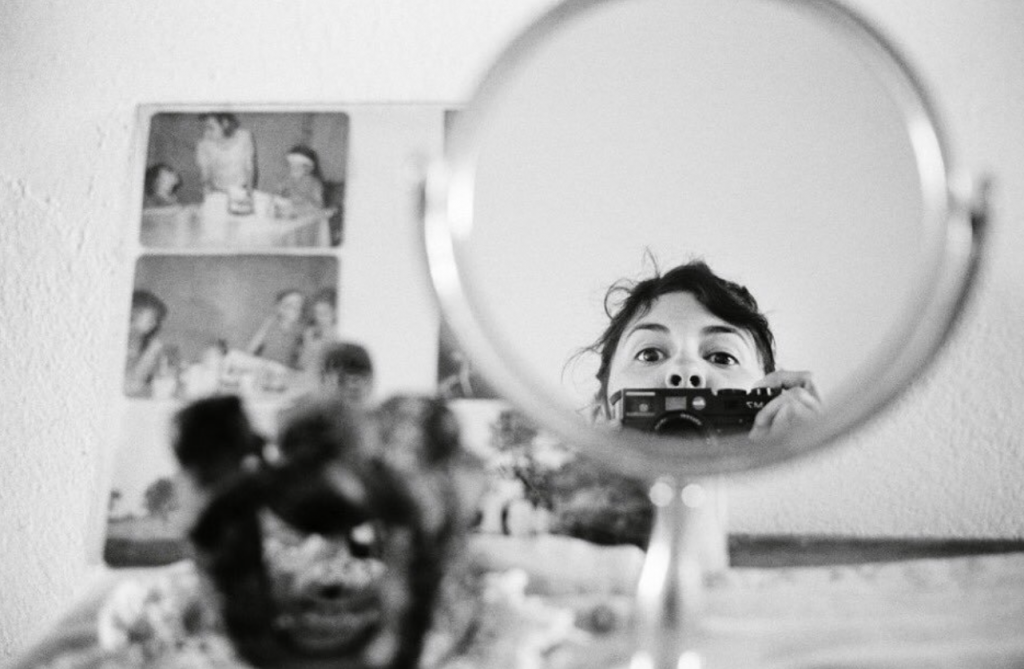
How to Take a Picture of a Mirror! Why take a picture of a mirror? Some people believe that the act of photographing a mirror is an act of defiance. It can be interpreted as a way to say “look at yourself, but don’t bother fixing what’s broken”. For others, taking a picture of a mirror is simply a fun way to capture memories or moments. Whatever the reason, there is something intriguing and magical about taking a picture of a mirror.

Many people find taking a picture of themselves in a mirror to be awkward and uncomfortable. However, there are various ways to take a picture of a mirror that make the experience more comfortable. In this article, we will discuss some of the different techniques for taking a picture of a mirror.
How to Take a Picture of a Mirror
Here are some tips to help you get a mirror image.
1. Camera Settings

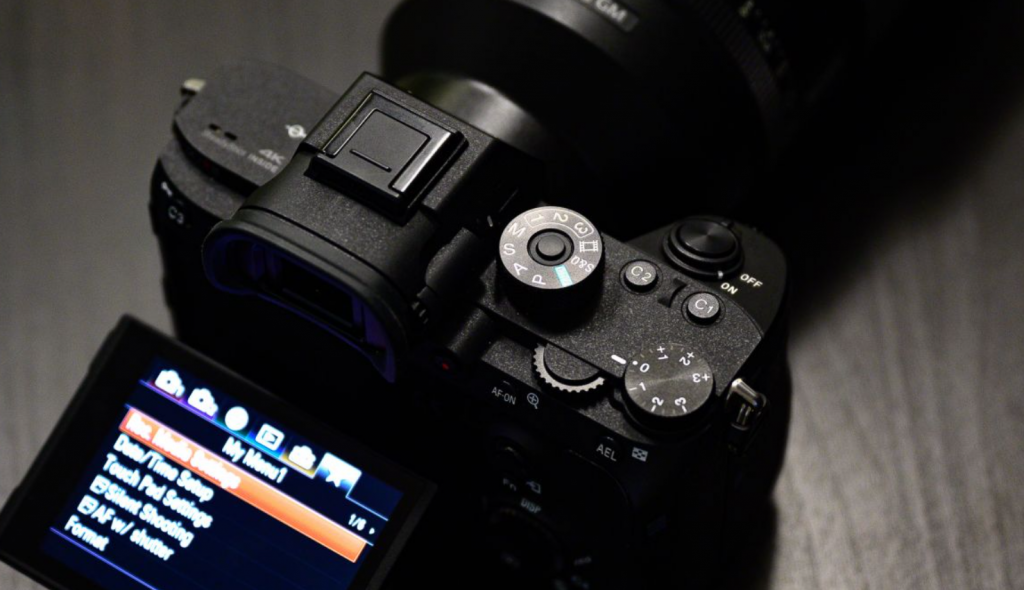
When photographing a mirror, it’s important to use a camera with manual controls. This will allow you to adjust the shutter speed, aperture, and ISO to get the best results. For the shutter speed, you’ll want to use a setting that’s slow enough to create a blurred effect. The aperture should be set as wide open as possible to let in the most light, and the ISO should be kept as low as possible to avoid noise.
2. Positioning Yourself

When photographing reflections in mirrors, it is important to consider your positioning. You want to make sure that you are not in the way of the reflection and that there are no obstructions behind you. You also want to be aware of the angle at which you are taking the picture. To get the best shot, try to position yourself so that you are looking directly at the mirror, or at least perpendicular to it. If you sit or stand too close, you will get a lot of distortion; if you stand or sit too far away, you will lose detail.
3. Angle
When photographing reflections in mirrors, it’s important to find the right angle. Shooting from too high or too low can distort the reflection, making it difficult to see what is being reflected. Try to find a spot that is level with the mirror, or at least close to it. This will ensure that the reflection is as accurate as possible.
4. Light
Another thing to consider when photographing reflections in the direction of light. Golden hour lighting can make reflections look especially beautiful, but be aware of any shadows that might be cast by objects in the mirror. Positioning yourself so that the light is behind you will help avoid unwanted shadows and create a more balanced photo.
5. Reflections
When you take a picture in the mirror, oftentimes there are reflections of objects or people in the mirror that you don’t want in the photo. Here are a few tips on how to deal with those reflections:
-If there are reflections of objects or people in the mirror that you don’t want in the photo, try to move them out of the way or hide them behind something.
-If that’s not possible, try to take the picture from a different angle so that the reflections aren’t as visible.
-If all else fails, you can try to edit out the reflections in Photoshop or another photo editing program.
6. Editing
Mirror photography is a great way to add interest and intrigue to your photos. Here are a few tips for enhancing your mirror photo in post-processing:
- Crop the photo so that the mirror is in the center of the frame. This will help create symmetry and balance in the image.
- Use an editing program to enhance the colors and contrast in the photo. This will help make the mirror look more reflective and shiny.
- Add a vignette to the photo to draw attention to the center of the image.
- Use a blur filter to create a soft, dreamy effect around the edges of the mirror.
Conclusion
In conclusion, taking a picture of a mirror can be a fun and creative way to show off your photography skills. By following the simple tips listed in this article, you can create an interesting and eye-catching photo that will impress your friends and family. So what are you waiting for? Give it a try!


