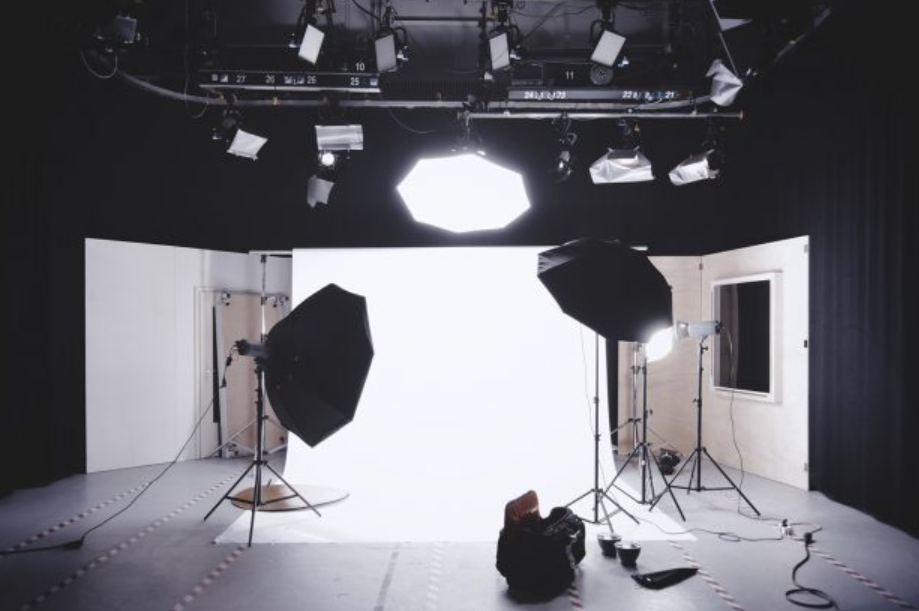
How To Make Photography Lights! Photography is a beautiful art form that relies heavily on the interplay of light and shadow. While professional lighting equipment is readily available, it can be expensive and challenging to transport, especially for those just starting their photography journey. Fear not, aspiring photographers! In this guide, I’ll show you how to make photography lights from everyday materials, allowing you to experiment with light, enhance your photos, and unleash your creative potential without breaking the bank. So, let’s dive into the world of DIY photography lighting and illuminate your path to stunning visuals.

Materials You’ll Need
Before we begin crafting our homemade photography lights, let’s gather the materials required for this exciting project. Most of these items can be found around your home or purchased at a local hardware store.
- Cardboard Boxes
- Aluminium Foil
- LED Light Strips or Bulbs
- Electrical Tape
- White Bedsheets or Diffusion Material
- Extension Cords and Power Strips
- Tools
How To Make Photography Lights | Step-by-Step DIY Light Building
A softbox is a valuable tool in photography for producing diffused and flattering light. Let’s start by crafting a simple DIY softbox using a cardboard box, aluminium foil, and bedsheets.
Step 1: Prepare the Cardboard Box
Begin by selecting the cardboard box that will serve as the foundation of your softbox. Cut off the top flaps and one side, leaving the front, bottom, and two sides intact. This will create an open-fronted box.
Step 2: Line the Interior with Aluminum Foil
Cover the interior surfaces of the cardboard box with aluminium foil, ensuring a smooth and reflective surface. Use electrical tape to secure the foil in place.
Step 3: Create a Front Opening
Cut a rectangular opening in the front of the box, leaving a border of approximately 2 inches. This opening will be where you attach your diffusion material.
Step 4: Attach the Diffusion Material
Secure a white bedsheet or diffusion material over the front opening using electrical tape, ensuring it is taut and evenly diffuses the light.
Step 5: Install LED Lights
Inside the box, attach your LED light strips or bulbs along the sides and top, facing the aluminium foil-covered walls. Be sure to follow the manufacturer’s instructions for connecting and powering the LEDs.
Step 6: Connect to a Power Source
Extend the electrical cord from your DIY softbox and connect it to a power source using an extension cord and power strip.
Congratulations! You’ve just created your very own DIY softbox for photography. This softbox will provide soft, even lighting for portraits, still life, and other photography subjects.
Building DIY LED Panels
Another versatile DIY lighting option is crafting LED panels. These can be used for a range of photography styles, including product photography and video shoots. Here’s how to make them:
Step 1: Prepare the Cardboard Base
Start by cutting the cardboard boxes into rectangular panels, depending on the size of the LED panel you want to create.
Step 2: Line with Aluminum Foil
Apply aluminium foil to one side of each cardboard panel to create a reflective surface.
Step 3: Attach LED Strips
Secure the LED strips or bulbs onto the aluminium foil-covered side of the cardboard panel, evenly spacing them to ensure uniform lighting. Use electrical tape to fasten them securely.
Step 4: Create a Diffusion Layer
Cover the LED side of the panel with a white bedsheet or diffusion material. This will help soften and diffuse the light emitted by the LEDs, creating a pleasant and even illumination.
Step 5: Connect to Power
Extend the power cords from your DIY LED panels and connect them to an extension cord and power strip for convenient power access.
Now, you have custom-made LED panels ready to enhance your photography. These panels are versatile and can be positioned to provide various lighting angles, making them perfect for product photography, portraits, and more.
Conclusion
Creating your photography lights is not only cost-effective but also a fantastic way to experiment with different lighting setups and enhance your photography skills. By following these DIY steps and gathering the materials, you can craft softboxes and LED panels that will elevate your photography game. Don’t be afraid to experiment, adapt, and innovate with your DIY lighting solutions—your creative journey has just been illuminated!


