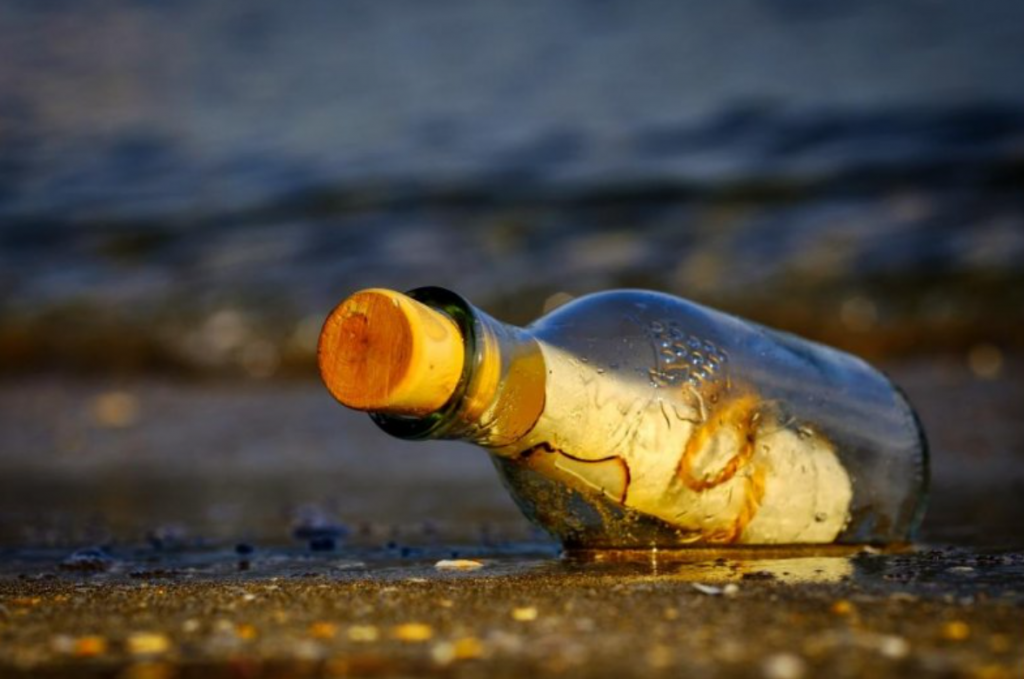
How to Photograph a Bottle! Photographing a bottle might seem like a straightforward task, but capturing the essence and beauty of this common object can be a creative and rewarding endeavour. Whether it’s a vintage wine bottle, an intricately designed perfume bottle, or even a custom-crafted glass container, mastering the art of bottle photography requires careful attention to detail and a keen eye for composition. In this step-by-step guide, we will explore the process of photographing a bottle, from setting up the perfect shot to post-processing techniques.

How to Photograph a Bottle
Here are a few steps on how to photograph a bottle
Step 1: Gather Your Equipment
Before you begin, ensure you have the necessary equipment at your disposal. Here’s what you’ll need:
- Camera: A DSLR or mirrorless camera is ideal for greater control over settings.
- Lenses: A prime lens or a macro lens works well for capturing intricate details.
- Tripod: To maintain stability and reduce camera shake during long exposures.
- Backdrop: Choose an appropriate background or surface that complements your bottle’s aesthetics. Options include plain backdrops, reflective surfaces, or textured papers.
- Lighting Equipment: Softboxes, strobes, or continuous lighting sources for controlled illumination.
- Reflectors: White cards or reflectors to bounce and control light and prevent unwanted reflections.
- Cleaning Supplies: A clean, lint-free microfiber cloth and cleaning solution to ensure the bottle is pristine.
- Remote Shutter Release: A remote or cable release to avoid touching the camera during shots.
Step 2: Preparing the Bottle
A clean and well-prepared bottle is essential for stunning photographs. Here’s how to prepare your bottle:
- Clean the Bottle: Thoroughly clean the bottle to remove fingerprints, dust, or smudges. Use a lint-free cloth and cleaning solution for best results.
- Handling: Use lint-free gloves when handling the bottle to prevent leaving smudges or marks.
- Fill or Empty: Decide whether you want the bottle to be filled or empty, depending on your creative vision.
Step 3: Set Up Your Shooting Area
Creating the right environment for your bottle is crucial. Follow these steps:
- Choose a Location: Select a controlled environment with ample space for your setup.
- Position Your Tripod: Set up your tripod and ensure it’s level and stable.
- Backdrop: Arrange your chosen backdrop or surface, taking care to eliminate wrinkles or imperfections.
- Lighting: Position your lighting equipment strategically. Soft, diffused lighting works best to prevent harsh reflections.
- Reflectors: Use white cards or reflectors to bounce light and control reflections on the bottle.
- Bottle Placement: Center the bottle within your setup, ensuring it’s the focal point.
Step 4: Compose Your Shot
Composition plays a pivotal role in bottle photography. Consider these composition tips:
- Framing: Experiment with angles and perspectives to create visually appealing compositions.
- Rule of Thirds: Apply the rule of thirds for a balanced composition.
- Showcase Features: Highlight the bottle’s label or unique design elements.
- Background: Pay attention to the surroundings and choose elements that complement your bottle’s aesthetics.
Step 5: Adjust Camera Settings
Configure your camera settings for optimal results:
- ISO: Use a low ISO setting (typically 100-400) to minimize noise.
- Aperture: Select an aperture between f/8 and f/16 to achieve the desired depth of field.
- Shutter Speed: Adjust the shutter speed to ensure proper exposure, especially in low-light conditions.
- Remote Release: Use a remote shutter release or the camera’s self-timer to prevent camera shake during shots.
Step 6: Focus and Capture
Achieving precise focus is essential in bottle photography:
- Manual Focus: Switch to manual focus for precise control over focus points.
- Focus on Details: Focus on the bottle’s label or any distinctive features that you want to highlight.
- Test Shots: Take test shots and review them on your camera’s LCD screen to ensure sharpness.
Step 7: Experiment with Lighting
Exploring various lighting techniques can enhance your bottle photographs:
- Light Placement: Adjust the position and intensity of your lights to accentuate different aspects of the bottle.
- Diffusers: Use diffusers or softboxes to create soft, even lighting that minimizes harsh shadows and reflections.
- Backlighting: Experiment with backlighting to create intriguing silhouettes and highlights.
Step 8: Post-Processing
After capturing your images, post-processing can help refine and enhance the final results:
- Transfer Images: Transfer your photos to a computer for editing.
- Editing Software: Use software like Adobe Photoshop or Lightroom for colour correction, contrast adjustments, and sharpening.
- Remove Imperfections: Remove any remaining imperfections or unwanted reflections in post-processing.
Conclusion
By following these step-by-step instructions, you can master the art of photographing bottles and creating stunning images that showcase the unique charm and beauty of these everyday objects. Experiment, refine your techniques, and enjoy the creative process of bottle photography.
Frequently Asked Questions
ْQ1: How do you Take a Picture of a Bottle?
A1: To take a picture of a bottle, start by finding a well-lit area with good natural or artificial lighting. This will help highlight the shape and details of the bottle. Next, position the bottle in an interesting way that showcases its unique features. Experiment with different angles and perspectives to find the most visually appealing composition. Lastly, use a camera or smartphone with a high-resolution lens to capture clear and sharp images of the bottle. Don’t forget to edit and enhance the photo afterwards if needed.
Q2: How do you Photograph a Bottle without a Reflection?
A2: To photograph a bottle without a reflection, you can use a few techniques. First, try placing the bottle on a non-reflective surface such as matte paper or fabric. This will help minimize any unwanted reflections. Additionally, you can use polarizing filters on your camera lens to further reduce reflections and glare. Adjusting the lighting setup can also make a difference – try using diffused or soft lighting to minimize reflections. Experiment with different angles and positions to find the best setup for your desired shot.


