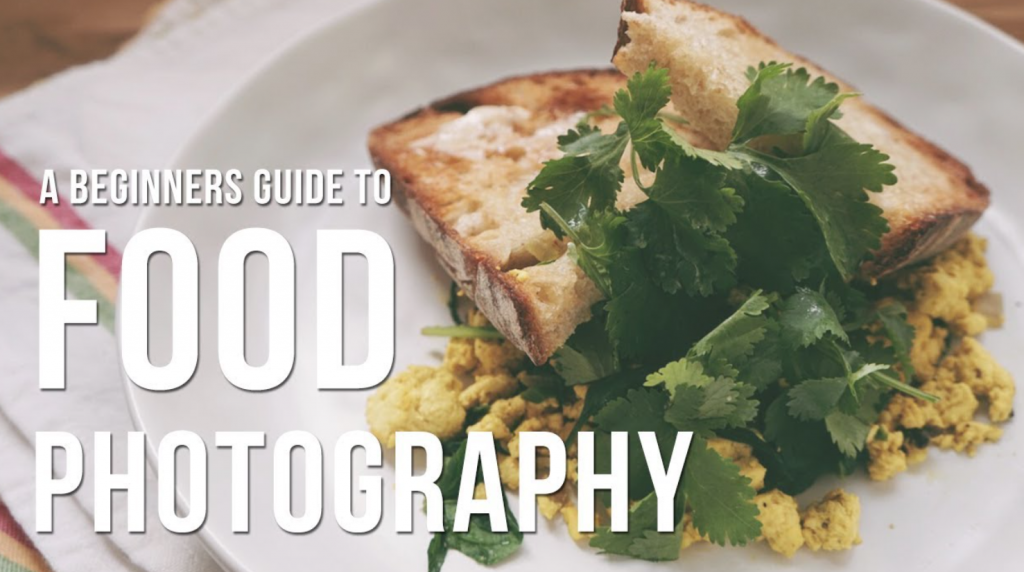
Food Photography Tips for Beginners! Food photography has become increasingly popular, thanks to the rise of food blogs, social media, and a shared love for all things delicious. If you’re a food enthusiast or budding food blogger looking to improve your food photography skills, you’re in the right place. In this comprehensive guide, we’ll explore a range of essential food photography tips for beginners to help you capture mouthwatering images of your culinary creations.
Why Food Photography is Important for Beginners
Food photography is important for beginners because it allows them to showcase their culinary creations appealingly and professionally. In today’s digital age, where social media platforms like Instagram are flooded with visually captivating food images, having the skills to capture and present your dishes can significantly enhance your online presence. By learning the basics of food photography, beginners can improve their ability to capture the colours, textures, and presentation of their dishes, making them more enticing to potential viewers or customers.
Food Photography Tips for Beginners
Preparation is Key
- Choose Your Ingredients Wisely: Start with fresh, vibrant ingredients. The better your ingredients look, the more appealing your final dish will be.
- Cleanliness Matters: Ensure your cooking and photography space is clean and clutter-free. Remove any distracting elements from the frame.
- Plan Your Composition: Think about how you want to compose your shot before you start cooking. Consider the angles, props, and backgrounds that will best showcase your dish.
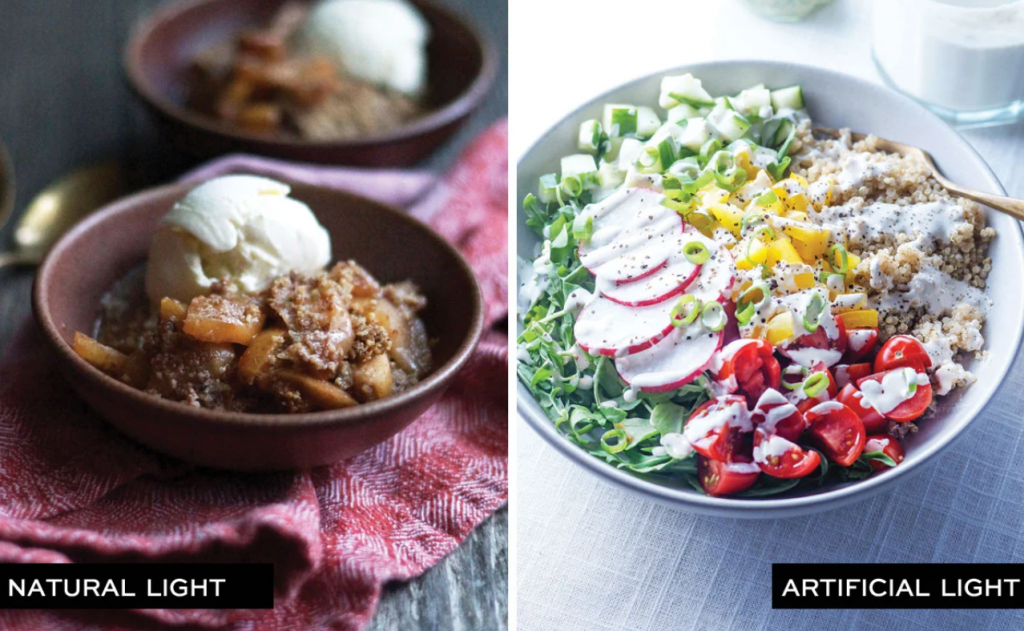
Master the Art of Lighting
-
- Natural Light is Best: Whenever possible, use natural light. Position your setup near a large window with soft, diffused light. Avoid harsh, direct sunlight.
- Diffuse the Light: If you have bright sunlight, use sheer curtains or a white sheet to soften and diffuse the light. This helps eliminate harsh shadows and highlights.
- Reflectors: Experiment with reflectors to bounce light onto the shadows, creating a more balanced look.
Get the Composition Right
- Rule of Thirds: Divide your frame into thirds both horizontally and vertically. Place key elements along these lines or at their intersections for a visually pleasing composition.
- Leading Lines: Use elements like utensils or table lines to lead the viewer’s eye to the main subject.
- Framing: Frame your dish with other objects or elements, such as plates or napkins, to add depth and context.
Choose Your Background and Props
- Backgrounds: Experiment with various backgrounds to find the right one for your dish. Wooden boards, marble, or textured fabrics can all work well.
- Props: Select props that complement your dish’s style and mood. Utensils, fresh herbs, or ingredients related to the recipe can add interest.
- Simplicity is Key: Avoid clutter. Sometimes, a minimalistic approach can be the most striking.
Plate Your Food Artfully
- Colour and Texture: Consider the colours and textures in your dish. A variety of colours and textures can create visual interest.
- Garnishes: Use garnishes like fresh herbs, sauces, or spices to enhance your dish’s appearance.
- Taste First, Shoot Later: Be mindful of the temperature of your food. Some dishes look best right after cooking, while others benefit from a little time to settle.
Camera Equipment and Settings
- Use a Tripod: A tripod stabilizes your camera, ensuring sharp images, especially in low light.
- Aperture and Depth of Field: Experiment with your camera’s aperture settings to control the depth of field. A wide aperture (low f-number) creates a beautiful, blurred background, while a narrow aperture (high f-number) keeps more in focus.
- White Balance: Adjust your camera’s white balance settings to match the lighting conditions and achieve accurate colours.
Editing for the Perfect Finish
- Post-Processing: Use photo editing software like Adobe Lightroom or Photoshop to enhance your images. Adjust exposure, contrast, and colour balance to achieve the desired look.
- Stay True to Your Style: Develop a consistent editing style that reflects your brand or blog.
Tell a Story
- Create a Narrative: Think about the story you want your food photos to tell. Incorporate props and settings that enhance the narrative.
Practice and Patience
- Practice Regularly: Like any skill, food photography improves with practice. Don’t be discouraged by early results; learn from each shoot.
- Experiment: Try different angles, lighting, and compositions. Food photography is about finding your unique style.
- Enjoy the Process: Most importantly, enjoy the journey of capturing delicious moments. The joy and passion you bring to your photography will shine through in your images.
Conclusion
In conclusion, food photography is a delightful blend of culinary art and visual storytelling. By mastering these essential tips and techniques, beginners can embark on a flavorful adventure to create enticing and mouthwatering food photographs. Remember, practice and experimentation are your best allies on this journey. So, grab your camera, whip up something delicious, and let your food photography skills flourish. Happy shooting!


