Product photography is a specialized field that requires meticulous attention to detail, creative composition, and a deep understanding of camera settings. Whether you’re an e-commerce entrepreneur, a professional photographer, or a hobbyist looking to capture stunning product images, mastering the correct camera settings is essential. This comprehensive guide will delve into the camera settings and techniques that can elevate your product photography to professional levels.
Camera Settings for Product Photography
Here are some camera settings and techniques for product photography.
Selecting the Right Camera
Before diving into camera settings, starting with the right camera for product photography is crucial. While DSLR and mirrorless cameras offer excellent control and image quality, even high-end smartphones can produce outstanding product photos. Choose a camera that suits your budget and needs.
Choosing the Appropriate Lens
Selecting the right lens is equally important. A versatile lens choice for product photography is a prime lens with a moderate focal length, such as 50mm or 85mm, as it offers sharpness and a natural perspective. Macro lenses are ideal for capturing intricate details in small products.
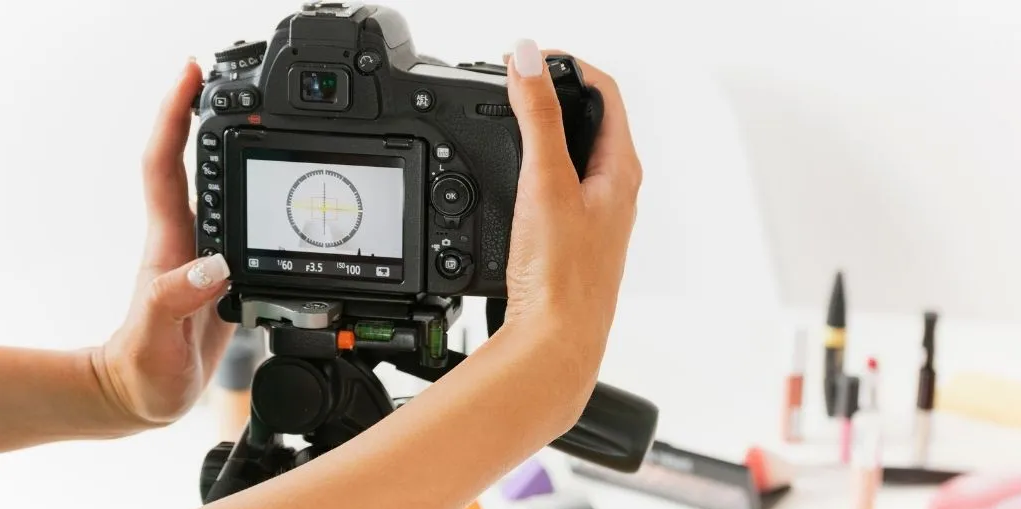
Use a Tripod
To ensure sharp and stable shots, use a tripod. This eliminates camera shake and allows for precise composition. A remote shutter release or the camera’s self-timer can further reduce vibration during the shot.
Manual Mode
Switch your camera to manual mode (M) for complete control over exposure settings. This enables you to make precise adjustments tailored to your product and lighting conditions.
Aperture (f-stop)
The aperture setting controls the depth of field, affecting how much of your product is in focus. For most product photography, a moderate aperture like f/8 to f/11 is ideal as it provides adequate depth of field while maintaining sharpness.
Shutter Speed
Keep your shutter speed relatively fast to avoid motion blur, especially when shooting handheld. A shutter speed of 1/125 to 1/250 second is generally a good starting point. If using a tripod, you can go slower to maximize light.
ISO
Keep the ISO as low as possible to maintain image quality and minimize noise. Start with the lowest ISO setting (usually 100 or 200) and increase it only when necessary to achieve proper exposure in low-light conditions.
White Balance
Set the white balance according to your lighting source. For consistency, use a custom white balance or choose a preset like “Daylight” or “Tungsten” if shooting in controlled environments.
Focus Mode
Use manual focus for precise control over what parts of the product are sharp. Zoom in on the product using live view and adjust the focus manually to achieve pinpoint accuracy.
RAW Format
Capture images in RAW format if your camera allows it. RAW files contain more image data and provide greater flexibility in post-processing, enabling you to correct exposure and colour balance more effectively.
Composition
Compose your product shots thoughtfully. Pay attention to the rule of thirds, symmetry, leading lines, and negative space to create visually appealing and balanced compositions.
Bracketing
Consider bracketing your shots by taking multiple exposures at different settings. This can be useful for achieving the perfect direction and creating HDR (High Dynamic Range) images if needed.
Experiment with Lighting
Experiment with different lighting setups, such as softboxes, diffusers, reflectors, or natural light. Try various angles and directions of light to highlight textures and create the desired mood.
Post-Processing
After capturing your product photos, fine-tune them in post-processing software like Adobe Lightroom or Photoshop. Adjust exposure, contrast, colour balance, and remove imperfections to achieve the desired look.
Practice and Patience
Product photography is a skill that improves with practice and patience. Take the time to refine your techniques, learn from your mistakes, and continually strive for better results.
Conclusion
Camera settings are the foundation of successful product photography. By mastering the correct settings and techniques, you can create product images that showcase your items in the best possible light and convey their quality and appeal to potential customers. Whether you’re shooting products for e-commerce, advertisements, or personal projects, the knowledge and skills you gain from understanding camera settings will be invaluable in your journey to becoming a proficient product photographer.
Frequently Asked Questions
Q1: What camera mode is ideal for product photography?
A1: Manual mode (M) is suitable for product photography as it completely controls exposure settings.
Q2: Why is a moderate aperture commonly used in product photography?
A2: A medium gap provides adequate depth of field, ensuring that more of the product is in focus while maintaining sharpness.
Q3: How can you reduce motion blur in product photography?
A3: To reduce motion blur, use a relatively fast shutter speed, such as 1/125 to 1/250 second, and consider using a tripod.
Q4: What is the recommended ISO setting for product photography?
A4: Start with the lowest ISO setting (usually 100 or 200) to maintain image quality and minimize noise. Increase it only when necessary in low-light conditions.
Q5: Why is shooting in RAW format beneficial for product photography?
A5: Shooting in RAW Format preserves more image data and provides greater flexibility in post-processing, allowing for precise exposure and colour adjustments.


