Camera Settings for Macro Photography! Macro photography is a type of photography that uses a close-up lens to photograph objects or subjects at a size larger than life. Macro photography can provide stunning detail and clarity in photographs that would otherwise be difficult or impossible to capture. Macro photography is popular for capturing small details and textures in subjects such as flowers, insects, and wildlife.
Microscopic photography is a popular way to capture images of small objects. By using the correct camera settings, you can get close enough to your subject to get stunning detail in your photos. In this article, we will discuss the camera setting for macro photography.
Camera Settings for Macro Photography
Here are five some for optimizing your camera for macro photography:
1. Camera Type
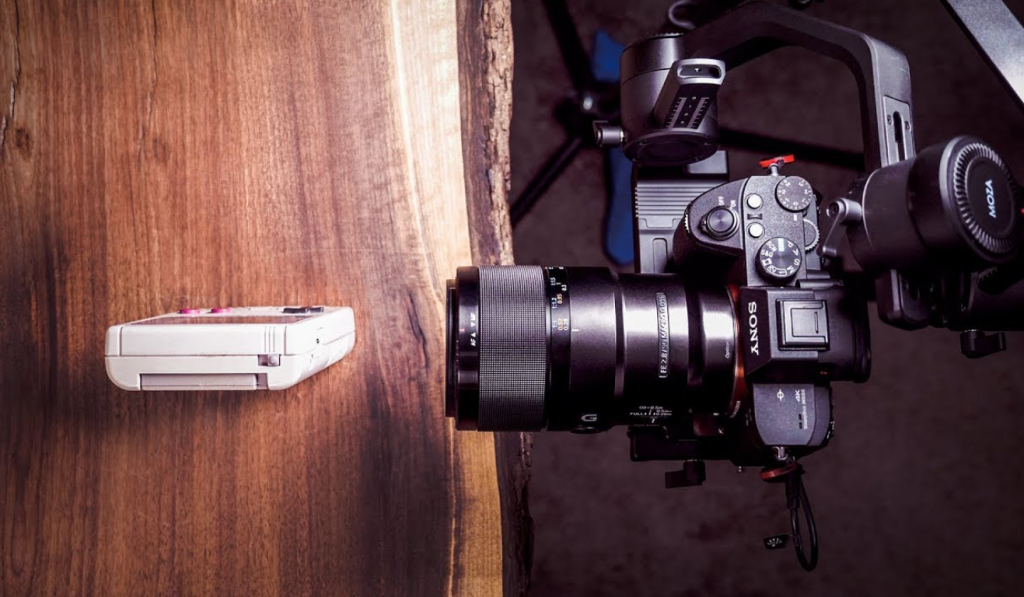
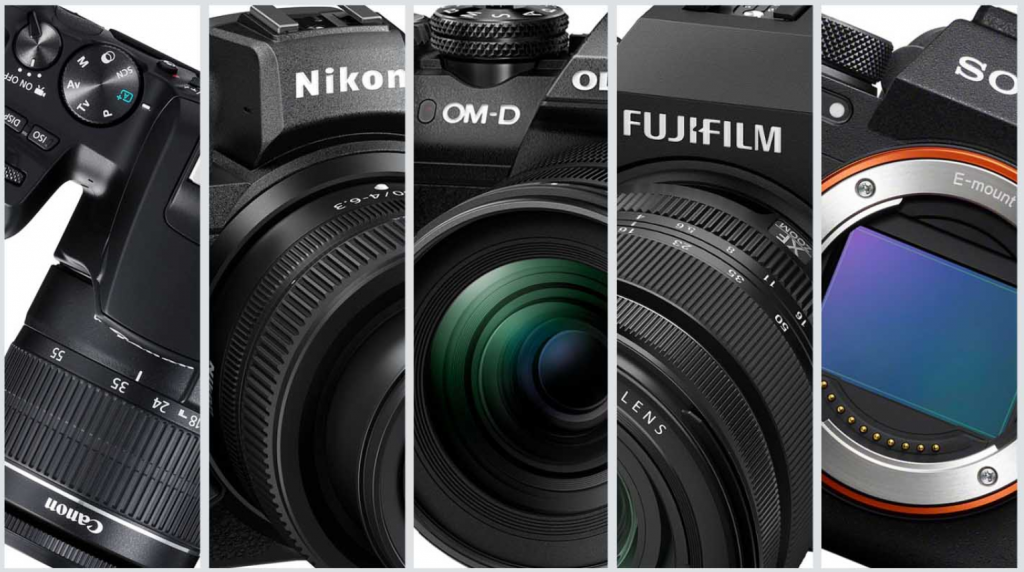
There are three main types of cameras that can be used for macro photography: digital SLRs, point-and-shoot cameras, and smartphone cameras. Choosing the right one for your needs is important because each type has advantages and disadvantages.
If you’re looking for maximum flexibility and control over your photos, a digital SLR is the best option. You can use a variety of lenses to get the perfect shot, and you have complete control over all of the settings.
2. Aperture
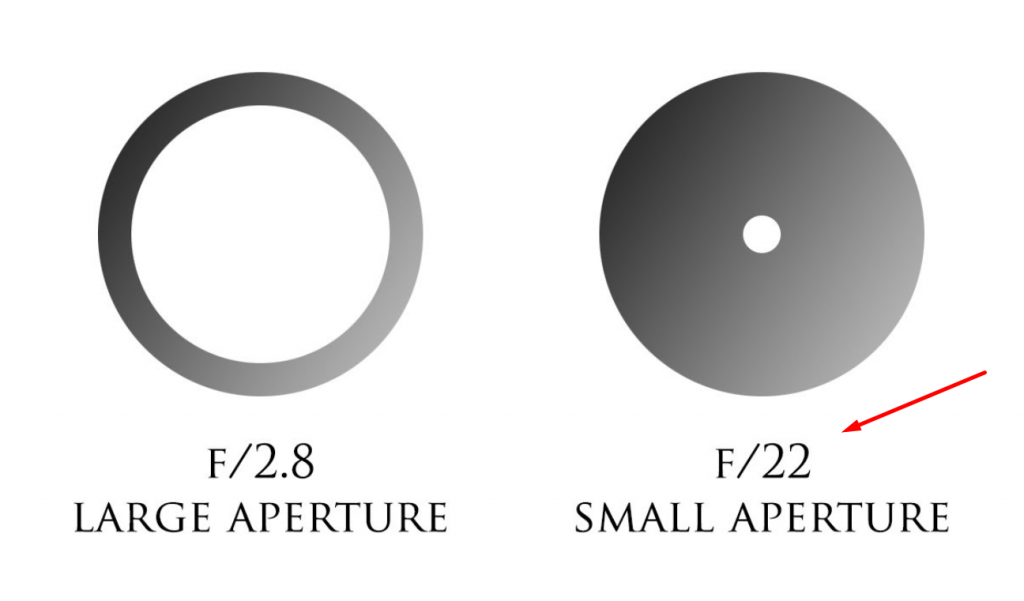
When it comes to camera settings for macro photography, there are a few things you need to keep in mind. The first is the aperture. When shooting macros, you’ll want to use a small aperture, like f/16 or f/22. This will help ensure that your photos are in focus from front to back. You’ll also want to use a high shutter speed to prevent blurriness. Finally, make sure your camera is in manual mode so that you can control the aperture and shutter speed yourself.
3. Shutter Speed
When photographing small objects, it is important to have the correct camera settings to capture the details of the object. It is important to pay attention to the shutter speed when setting up your camera. The right shutter speed will help keep the object in focus while also capturing the detail in the object.
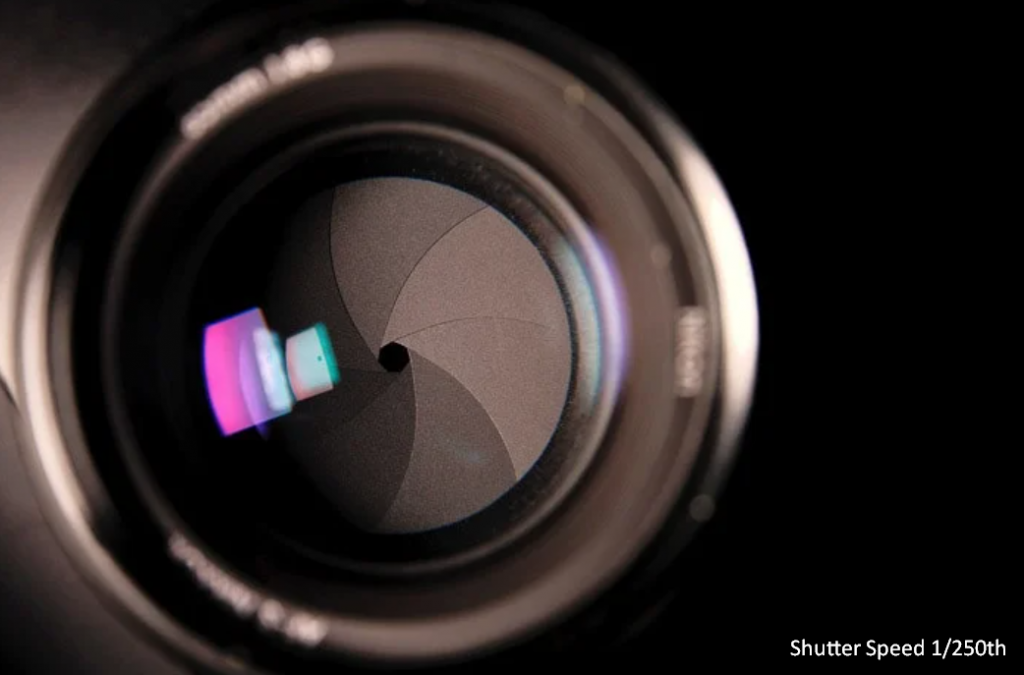
When photographing a small object, start by setting your camera to aperture priority mode. This will allow you to control the depth of field and keep the object in focus. Next, set your shutter speed to 1/250th of a second or faster. This will help ensure that you capture all the detail in the object without any motion blur.
If you are using a tripod, you can experiment with slower shutter speeds to get more creative effects.
4. ISO
There is no one perfect ISO for macro photography since it depends on the particulars of each scene. However, a good starting point is around ISO 400-800. This will provide enough detail and clarity in the photograph while still keeping noise levels manageable. If the light is very low, then you may need to increase the ISO to achieve proper exposure. Conversely, if there is too much light, you can decrease the ISO to avoid excessive noise. Always be sure to do some test shots to find the best settings for your individual situation.
5. Focusing
There is no single best focusing setting for macro photography, as it depends on the camera lens, the distance to the subject, and the shooting conditions. However, a good starting point is to set the focus mode to manual and use the smallest aperture available on your lens (highest f-stop number). This will allow you to control the depth of field and ensure that most of the image is in focus. You can then fine-tune the focus by adjusting the distance between the camera and the subject.
Conclusion
In conclusion, when taking macro photographs, it is important to use the correct camera settings in order to capture the detail and beauty of the subject. By using a small aperture, high ISO, and a short shutter speed, you can ensure that your photos are clear and sharp. Experiment with these settings to find what works best for you, and enjoy capturing the beauty of the world around you!


