Camera Settings for Food Photography! Though food photography is often thought of as a simple process, there are a few camera settings that can make the process much easier. This article will discuss the different settings and their benefits for food photography.
Camera Settings for Food Photography
If you are looking to take amazing food photography, there are a few camera settings you need to know about. Here are a few tips for getting the most out of your camera when shooting meals:
1. Camera Mode for Food Photography
There are many camera modes you can use for food photography, but some work better than others. For example, the macro mode is great for capturing small details of your food. The landscape mode is good for taking pictures of a whole dish. And the portrait mode is perfect for taking close-ups of individual food items.
2. Aperture for Food Photography
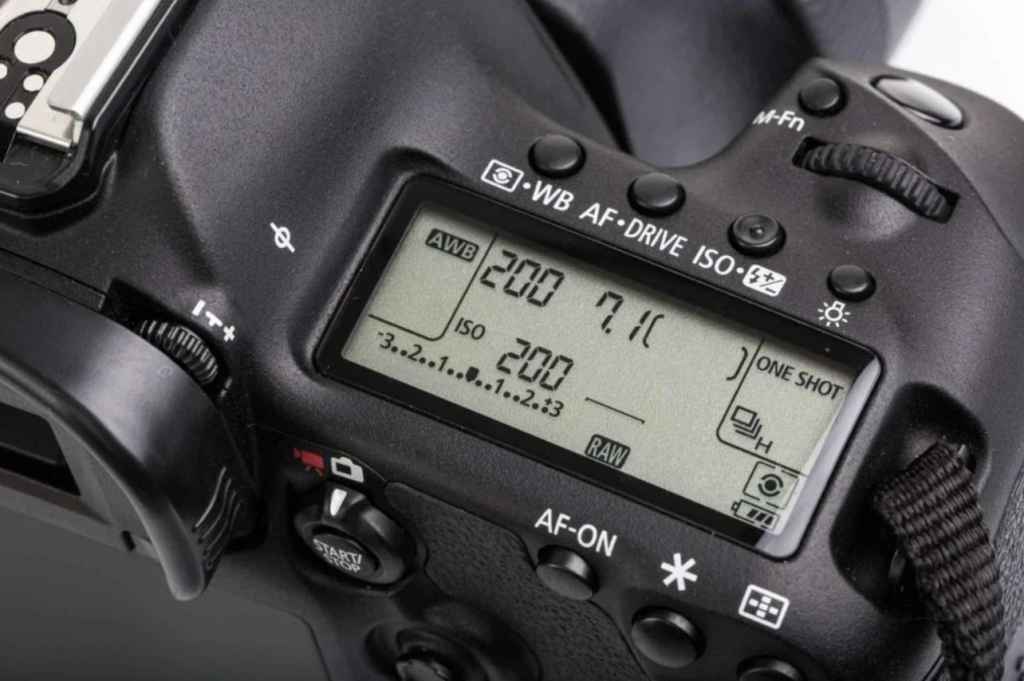
The aperture you choose for your food photos will affect the depth of field (DOF) in the photo. A wide aperture will give you a shallow DOF, while a small aperture will give you a deep DOF. For most food photos, you’ll want to have a deep DOF so that all of the food is in focus. A small aperture of around f/8 or f/11 should do the trick.
3. Shutter Speed for Food Photography
When it comes to shutter speed for food photography, there isn’t necessarily one perfect setting that will work for every situation. However, a good place to start is with a shutter speed of 1/60th of a second. This will help to capture the food in a natural way without causing any motion blur. If you need to adjust the shutter speed, try to keep it within the range of 1/60th – 1/250th of a second.
4. ISO for Food Photography
ISO is one of the key settings that photographers use to control the exposure of an image. The correct ISO for food photography can be tricky to determine, as it depends on many factors such as the type of food being photographed, the shooting location, and the level of ambient light present. In general, a lower ISO is preferable in order to avoid noise in the photograph, but there are some exceptions depending on the specific situation.
One important thing to keep in mind when selecting an ISO for food photography is that it’s often best to err on the side of a slower shutter speed rather than increasing the ISO. This is because a higher ISO can lead to more noise in the photograph, and food typically doesn’t move very fast so there’s no need for a high shutter speed. In most cases, an ISO between 100 and 400 should be adequate for photographing food.
5. White Balance for Food Photography
White balance is one of the most important camera settings for food photography. It determines how the colors in your photo will appear. If your white balance is set incorrectly, your photos can look either too warm or too cool.
There are a few different ways to set the white balance for food photography. The most common method is to use the automatic white balance setting. This setting adjusts the white balance automatically based on the light source. However, sometimes it can be tricky to get the automatic setting to correctly adjust for all types of lighting conditions.
Another option is to use the custom white balance setting. With this setting, you can manually adjust the white balance according to the type of light source you are using. For example, if you are shooting under fluorescent lights, you can adjust the white balance so that the photos look more natural.
Conclusion
In conclusion, the camera settings for food photography are important to get the perfect photograph. The aperture, shutter speed, and ISO should all be considered when taking a photo of food. Aperture is important to control the depth of field, shutter speed is important to avoid blurry photos, and ISO is important to get the correct exposure. Experiment with these settings to see which works best for your food photography style.


