Setup for tabletop photography! In tabletop photography, your subjects are placed on the tabletop, which serves as their stage. The tabletop is often brilliantly and evenly lighted with a softbox or other diffusing light to produce an even light source. With this technique, You may take some beautiful pictures of little objects, such as jewelry, miniatures, flowers, etc.. I’ll demonstrate how to set up tabletop photography in this article with just one desk lamp.
It differs slightly from a typical photo setting. Ensure your light source is behind the camera and your subject is in front of a light source while taking a picture of anything ordinary, like an everyday object. This is so our thing would appear lovely and light in the photograph. This is also how optics functions. Even if all other settings are perfect, your picture will still turn dark without a light source behind the camera since light cannot flow through. Being backlight or backlight is the technical term for this.
Tabletop Photography Setup
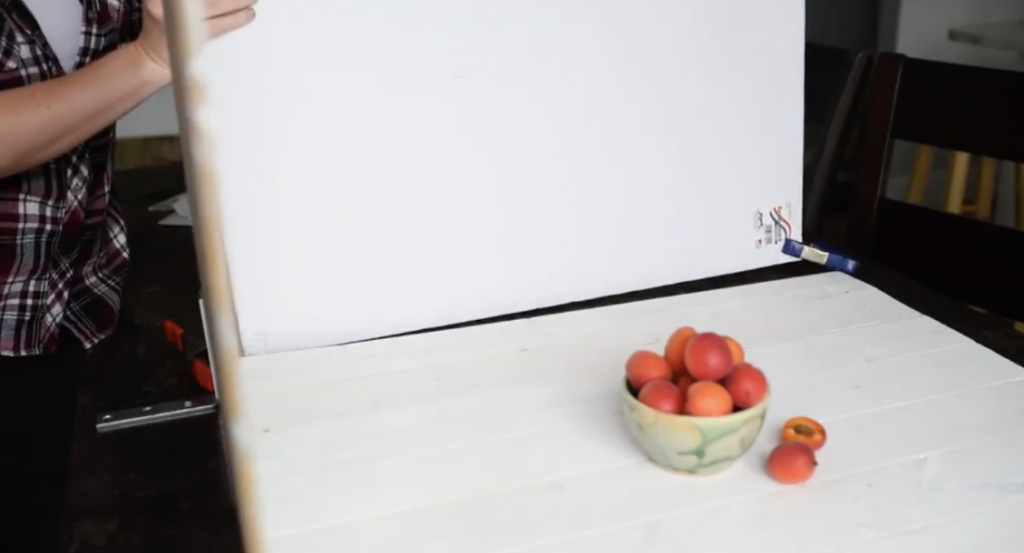
However, tabletop photography functions differently. Placing a whiteboard near the object will allow it to be illuminated by the sun or another light source. When we snap a picture, we want the background to be entirely white to make the thing appear in front of a neutral, solid color.
Here are some easy steps to get you going:
Step 1: Prepare
You need a room with solid furnishings and good Lighting. Before shooting photos for this project, you’ll ensure your subject is clean and scuffed-free. Consider the kind of photo you want in advance so that everything will work out perfectly when the time comes!
Step 2: Set the Scene
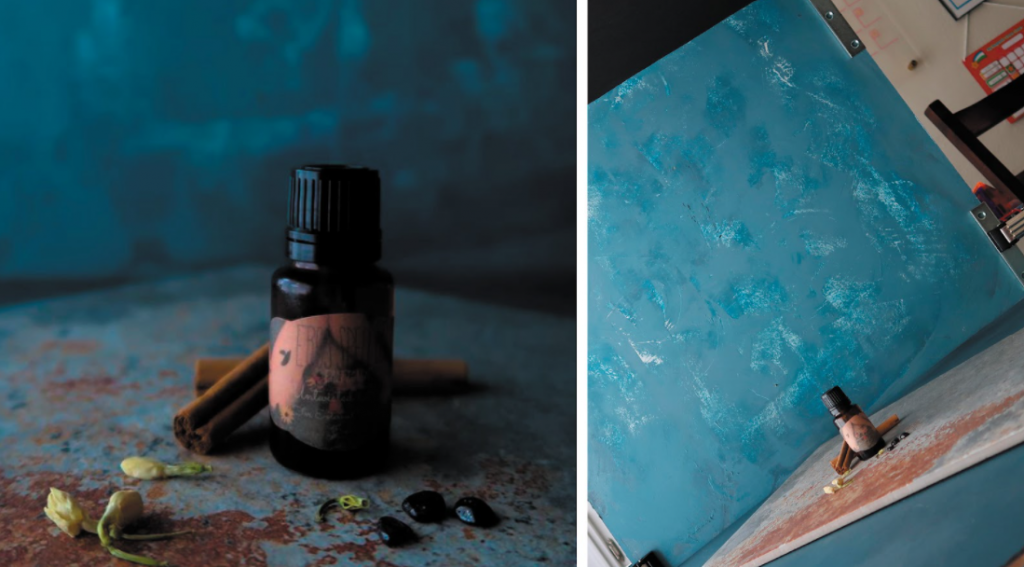
Play around with different arrangements while positioning the topic in the center. You can take shots of them by themselves or add a few things to your scene to make it look more genuine.
Step 3: Set Up Lighting
Try using white or black foam boards to focus light where it is most needed to prevent shadows. With these straightforward procedures, you should minimize the amount of shade on your subject as much as possible Lighting.
An image’s Lighting may make or destroy it. To achieve the most outstanding results for various moods, experiment with natural light, such as that coming from behind your subject, and diffused Lighting!
Step 4: Set Up Equipment
Set your tripod up if you’re using one. Use an ISO of 100 or less if you can ensure that there is more light on film per pixel point, which can result in high-quality photos, and modify settings such as the aperture and shutter speed (to reduce motion artifact).
There are many apps available for smartphones that can assist with the settings.
Step 5: Shoot and Edit
Don’t hesitate to take your time and try several angles to acquire the most outstanding pictures. Even if after a day or two of shooting, you’re not entirely satisfied. Use your phone’s editing apps!
Conclusion
There you have it, then. If you want to save money on something other than photo equipment, this setup is straightforward and works great! This is useful to anyone searching for a cheap alternative to their pastime or new to tabletop photography. You can also utilize a tabletop picture lightbox for modest product photography, which provides a bright electric setting. Visit our website at picture lightboxes to purchase a photo lightbox and discover more about photography.
For more detailed instructions about Photography Lighting Tips?
Frequently Asked Questions
Q1: What is tabletop photography?
A1: Tabletop photography is a genre of photography where small objects or products are placed on a tabletop and photographed in a controlled studio environment.
Q2: What is the critical element of a tabletop photography setup?
A2: Lighting is the critical element of a tabletop photography setup, as it is crucial in illuminating the subject and creating the desired mood and atmosphere.
Q3: What are some standard props and backgrounds used in tabletop photography?
A3: Common props include utensils, fabrics, flowers, and decorative items, while backgrounds can range from paper backdrops and textured surfaces to natural materials like wood and stone.
Q4: What camera equipment is typically used in tabletop photography?
A4: Cameras with interchangeable lenses, tripods for stability, and macro lenses for close-up shots are commonly used in tabletop photography setups.
Q5: How can diffusion and reflectors be used to improve tabletop photography lighting?
A5: Diffusion materials like softboxes or diffusers can soften and spread the light, while reflectors bounce light onto the subject, reducing shadows and enhancing the overall lighting quality in tabletop photography.


