LightBox For Nail Photography: Are you ready to transform your nail art into visual masterpieces? If so, this nail photography lightbox tutorial is precisely what you need. Say goodbye to blurry and poorly lit photos that fail to do justice to your intricate designs. With our step-by-step guide, we will walk you through creating a DIY lightbox that will instantly elevate the quality of your nail photography. Whether capturing the tiny details or showing off those mesmerizing holographic polishes, get ready for jaw-dropping shots that will make even professional photographers envious.
Nail Photography Lightbox Tutorial
Here are step-by-step guide for using a lightbox for photographing nails.
Step1:
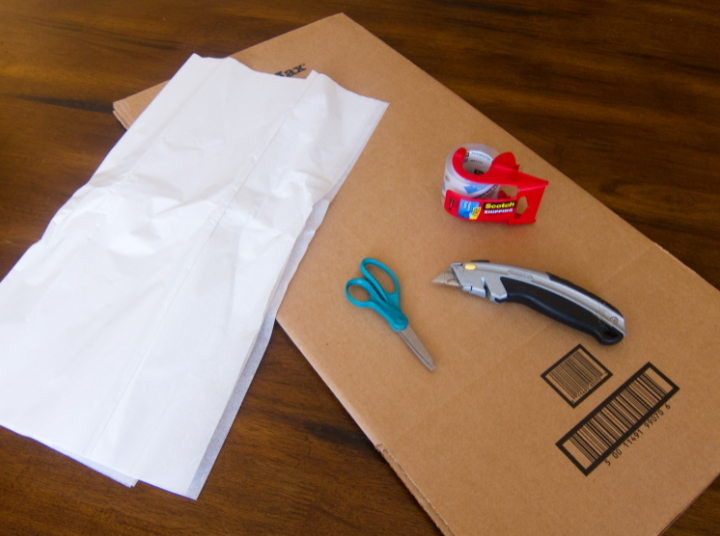
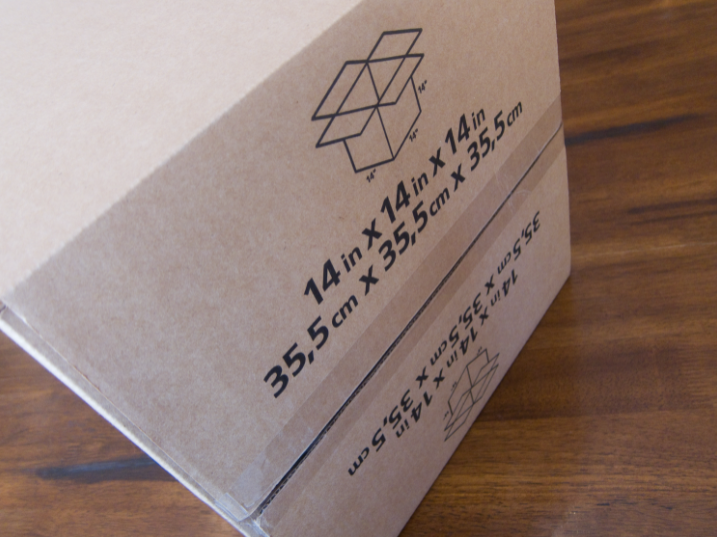
For this craft, you will need a box (14x14x14 or 18x18x18), tissue paper or tracing paper, and scissors. Pick up some black duct tape at any hardware store for a quick modification to make your lightbox portable!
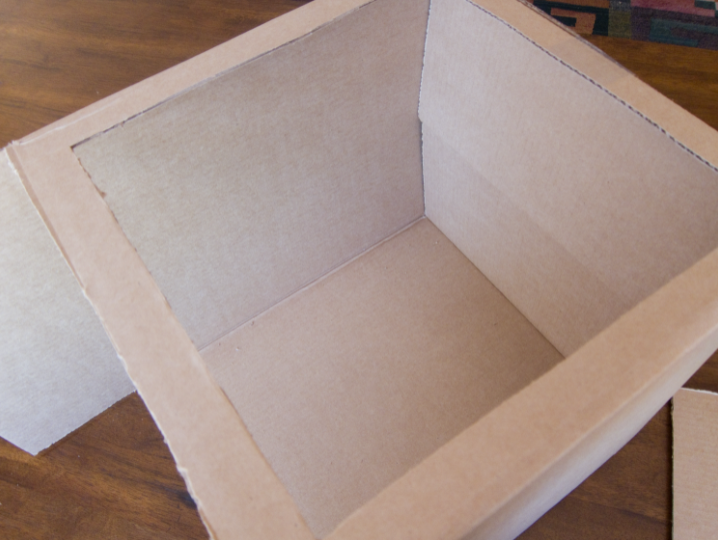
Step2:
You can now put your box together, but take care! Only one end should be sealed off, leaving the other side free for packing supplies.
Step3:
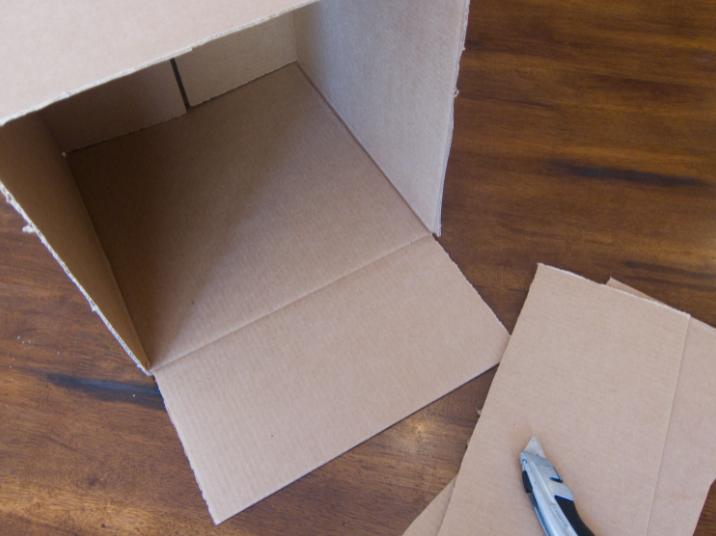
Make sure that nothing is nailed down to your box’s top and side panels when you cut them off.
Step4:
Cut windows into one side of your container with a box cutter. Please give it a border of approximately an inch all around for stability and weather protection.
Step5:
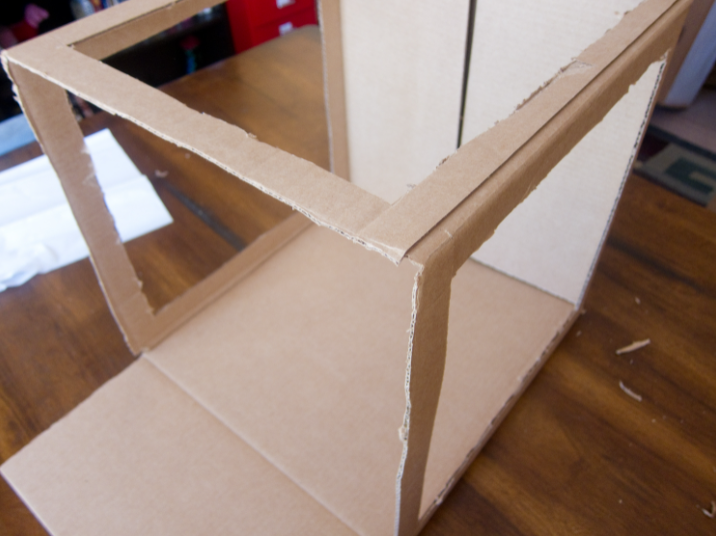
On each of the four sides, repeat the process. It can be challenging because every panel you remove weakens your box, so go slowly and carefully.
Step6:
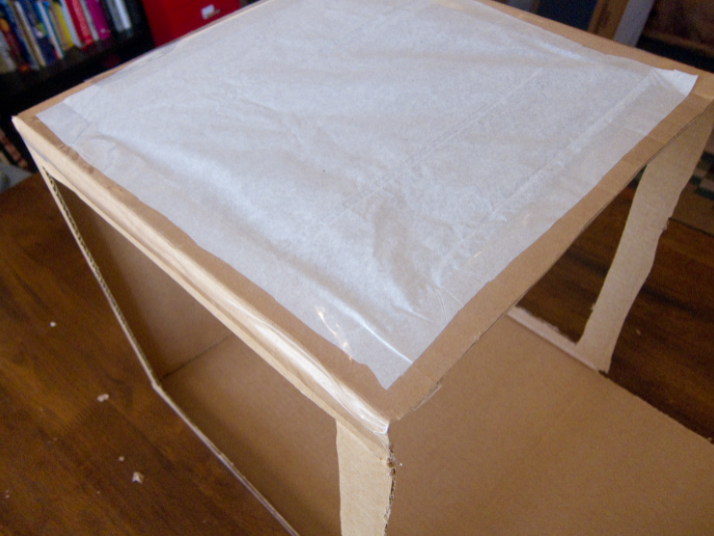
Cut a piece of tissue paper to fit over your window panes, put it on firmly with some duct tape, or purchase something similar to keep the sun out.
Step7:
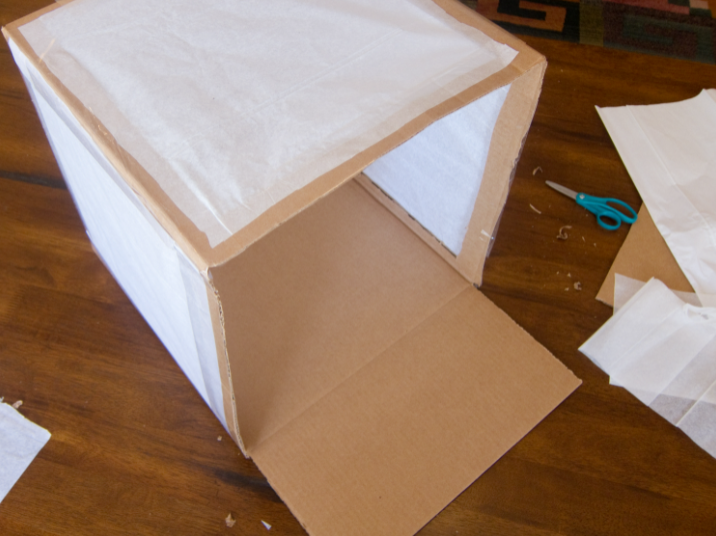
Repeat step six on each side of your box at this point.
Step8:
Cut a piece of poster board to serve as the interior’s background. Cut it so there is just enough room inside your box for what you want, but nothing more. This whiteboard should be taped up on top to prevent slipping when transported or stored.
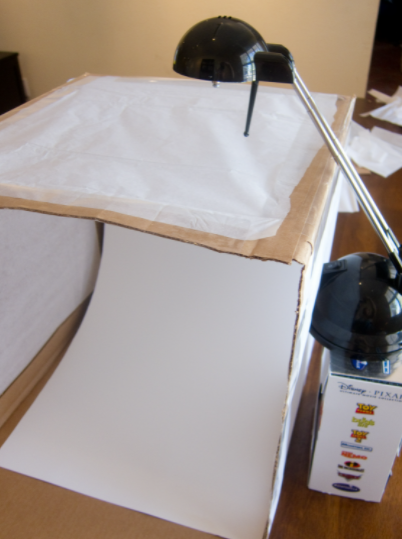
All of the room’s shutters are shut when I use my lightbox. This entails turning on lamps and ceiling lights and shining an Ikea miniature lamp through them into your photo area for further diffusion.
Step9:
It’s time to start taking pictures!
Conclusion
Make sure your nails are in front of the light that is put up at the top if you want to snap a fantastic photo of them. Nail models know how crucial it is “to find their light” when lighting their hands and faces equally. The same is true of us! Turning our heads toward this light bulb prevents shadows from covering our hands or fingers.
Note: Interested to know about Nail Photography Tips?


