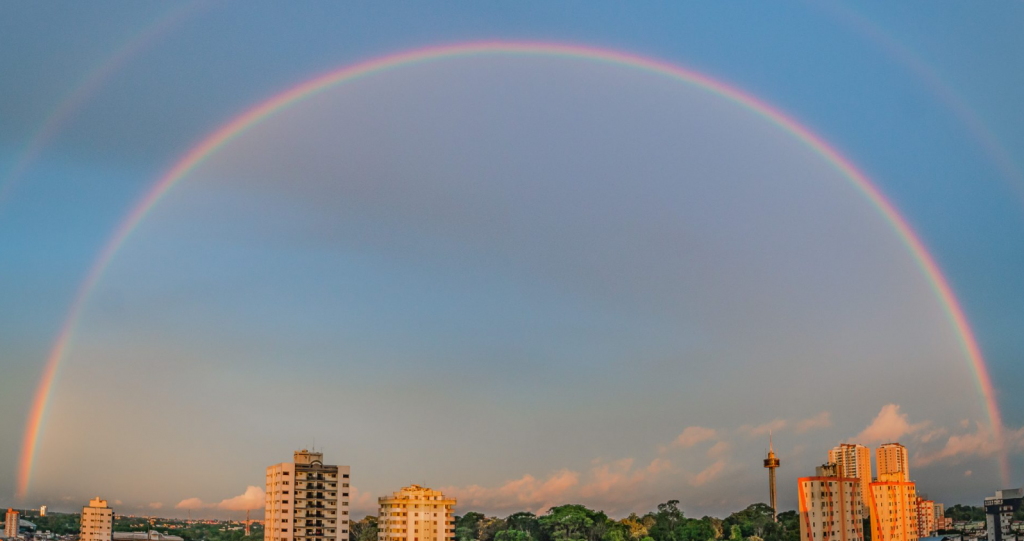
How to Photograph a Rainbow! Rainbow photography is a popular genre of photography that captures the beauty of rainbows. A rainbow is an optical phenomenon produced when sunlight is scattered by small droplets in the atmosphere. Rainbows can be seen most often during thunderstorms and on very clear days.
Rainbows are one of the most popular photo subjects on the internet. There’s something about the way they seem to defy gravity that makes them irresistible to take pictures of. Whether you’re shooting a macro shot or trying to get a wide-angle shot, there’s a chance you’ll end up with a rainbow in your photo. In this article, we will discuss how to photograph a rainbow.
How to Photograph a Rainbow
Rainbows can be really beautiful and captivating subjects for photography, but they can also be tricky to capture properly. Here are some tips to help you get the most out of your rainbow photos!
1. Use a Digital Camera With Manual Settings

When photographing rainbows, it is best to use a digital camera with manual settings. This will allow you to control the aperture, shutter speed, and ISO. The best time to photograph a rainbow is when the sun is behind you and the rainbow is in front of you. To capture the rainbow in all its glory, set your camera to its widest aperture and Slowest Shutter Speed setting. Make sure that your ISO is set to a low number, such as 100 or 200. If your camera has a histogram feature, make sure that the graph is on the right side of the screen. This will ensure that your photograph has good exposure.
2. Find an Open Area With Plenty of Natural Light

When it comes to rainbow photography, one of the most important things you can do is find an open area with plenty of natural light. The best time of day for shooting rainbows is early morning or late afternoon when the sun is high in the sky. Look for an open space with a clear view of the sky, and avoid photographing rainbows near large trees or buildings, which can obstruct the view.
3. Experiment With Different Angles and Distances
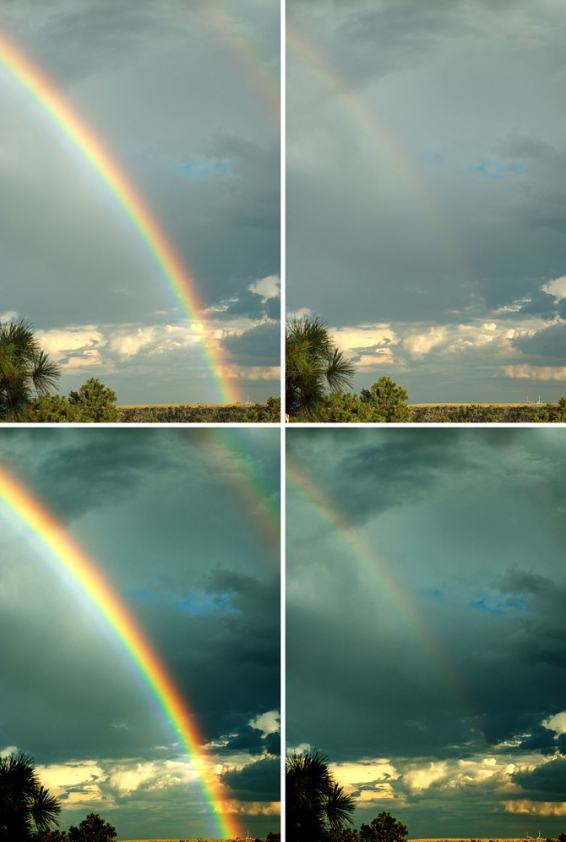
There’s no need to be afraid to experiment with different angles and distances when taking photos of rainbows. Sometimes, moving just a few feet to the side can make all the difference in the world in terms of getting the perfect shot. You may also find that moving closer or further away will result in a more pleasing image. Don’t be afraid to try out different ideas – you never know what might work until you give it a shot!
4. Use a Tripod for Stability

When photographing rainbows, it’s important to use a tripod for stability. This will help you to capture a clear and crisp image of the rainbow. If you don’t have a tripod, try finding a sturdy surface to place your camera on. Be sure to use the camera’s self-timer or a remote shutter release to avoid shaking the camera when you take the picture.
5. Adjust the White Balance and Saturation Levels
When photographing rainbows, it’s important to adjust the white balance and saturation levels to get the best possible results. You can either use your camera’s automatic settings or adjust them manually. If you have a DSLR camera, you can usually adjust the white balance and saturation levels by going into the menu settings.

If you’re using a point-and-shoot camera, you may not have as many options for adjusting the white balance and saturation levels. In that case, it’s best to try using the automatic settings and see if that gives you good results.
No matter what type of camera you’re using, it’s important to experiment with different settings until you find what works best for you. By adjusting the white balance and saturation levels, you can create some really beautiful photos of rainbows!
6. Post-processing Can Enhance the Colors Even Further
When taking photos, always remember to adjust the white balance and exposure. However, there are times when the photo still needs some improvement. This is where post-processing comes in.

Post-processing can make a huge difference in your photos. It can brighten them up, add contrast, and make them look more vibrant. There are many different post-processing software programs available, such as Photoshop and Lightroom.
However, you don’t need to be a professional photographer to use these programs. There are many online tutorials that can teach you how to use them. Post-processing can be a great way to improve your photography skills. { "@context": "https://schema.org/", "@type": "HowTo", "name": "How to Photograph a Rainbow", "description": "How to Photograph a Rainbow! Rainbow photography is a popular genre of photography that captures the beauty of rainbows. A rainbow is an optical phenomenon produced when sunlight is scattered by small droplets in the atmosphere. Rainbows can be seen most often during thunderstorms and on very clear days.", "image": "https://photolightboxes.net/wp-content/uploads/2022/07/How-to-Photograph-a-Rainbow-1-1024x541.png", "totalTime": "PT10M", "estimatedCost": { "@type": "MonetaryAmount", "currency": "USD", "value": "10$" }, "supply": [ { "@type": "HowToSupply", "name": "digital camera" } ], "tool": [ { "@type": "HowToTool", "name": "a tripod" } ], "step": [ { "@type": "HowToStep", "text": "When photographing rainbows, it is best to use a digital camera with manual settings. This will allow you to control the aperture, shutter speed, and ISO. The best time to photograph a rainbow is when the sun is behind you and the rainbow is in front of you. To capture the rainbow in all its glory, set your camera to its widest aperture and Slowest Shutter Speed setting. Make sure that your ISO is set to a low number, such as 100 or 200. If your camera has a histogram feature, make sure that the graph is on the right side of the screen. This will ensure that your photograph has good exposure.", "image": "https://photolightboxes.net/wp-content/uploads/2022/07/Use-a-Digital-Camera-With-Manual-Settings-1024x681.png", "name": "Use a Digital Camera With Manual Settings", "url": "https://photolightboxes.net/how-to-photograph-a-rainbow/#1_Use_a_Digital_Camera_With_Manual_Settings" }, { "@type": "HowToStep", "text": "When it comes to rainbow photography, one of the most important things you can do is find an open area with plenty of natural light. The best time of day for shooting rainbows is early morning or late afternoon when the sun is high in the sky. Look for an open space with a clear view of the sky, and avoid photographing rainbows near large trees or buildings, which can obstruct the view.", "image": "https://photolightboxes.net/wp-content/uploads/2022/07/Find-an-Open-Area-With-Plenty-of-Natural-Light.png", "name": "Find an Open Area With Plenty of Natural Light", "url": "https://photolightboxes.net/how-to-photograph-a-rainbow/#2_Find_an_Open_Area_With_Plenty_of_Natural_Light" }, { "@type": "HowToStep", "text": "There’s no need to be afraid to experiment with different angles and distances when taking photos of rainbows. Sometimes, moving just a few feet to the side can make all the difference in the world in terms of getting the perfect shot. You may also find that moving closer or further away will result in a more pleasing image. Don’t be afraid to try out different ideas – you never know what might work until you give it a shot!", "image": "https://photolightboxes.net/wp-content/uploads/2022/07/Experiment-With-Different-Angles-and-Distances.png", "name": "Experiment With Different Angles and Distances", "url": "https://photolightboxes.net/how-to-photograph-a-rainbow/#3_Experiment_With_Different_Angles_and_Distances" }, { "@type": "HowToStep", "text": "When photographing rainbows, it’s important to use a tripod for stability. This will help you to capture a clear and crisp image of the rainbow. If you don’t have a tripod, try finding a sturdy surface to place your camera on. Be sure to use the camera’s self-timer or a remote shutter release to avoid shaking the camera when you take the picture.", "image": "https://photolightboxes.net/wp-content/uploads/2022/07/Use-a-Tripod-for-Stability-1024x680.png", "name": "Use a Tripod for Stability", "url": "https://photolightboxes.net/how-to-photograph-a-rainbow/#4_Use_a_Tripod_for_Stability" }, { "@type": "HowToStep", "text": "When photographing rainbows, it’s important to adjust the white balance and saturation levels to get the best possible results. You can either use your camera’s automatic settings or adjust them manually. If you have a DSLR camera, you can usually adjust the white balance and saturation levels by going into the menu settings.", "image": "https://photolightboxes.net/wp-content/uploads/2022/07/Adjust-the-White-Balance-and-Saturation-Levels-1024x711.png", "name": "Adjust the White Balance and Saturation Levels", "url": "https://photolightboxes.net/how-to-photograph-a-rainbow/#5_Adjust_the_White_Balance_and_Saturation_Levels" }, { "@type": "HowToStep", "text": "When taking photos, always remember to adjust the white balance and exposure. However, there are times when the photo still needs some improvement. This is where post-processing comes in. \n\nPost-processing can make a huge difference in your photos. It can brighten them up, add contrast, and make them look more vibrant. There are many different post-processing software programs available, such as Photoshop and Lightroom. \n\nHowever, you don’t need to be a professional photographer to use these programs. There are many online tutorials that can teach you how to use them. Post-processing can be a great way to improve your photography skills.", "image": "https://photolightboxes.net/wp-content/uploads/2022/07/Post-processing-Can-Enhance-the-Colors-Even-Further-1024x765.png", "name": "Post-processing Can Enhance the Colors Even Further", "url": "https://photolightboxes.net/how-to-photograph-a-rainbow/#6_Post-processing_Can_Enhance_the_Colors_Even_Further" } ] }
Conclusion
In conclusion, photographing a rainbow is an easy task once you understand the proper techniques. By following the tips in this article, you should be able to capture this beautiful natural phenomenon in all its glory. So get out there and start shooting!


