D.I.Y. Light Box for Tracing! Many people use the daily tracing method whether they are working on their most recent D.I.Y. home improvement project or drafting an idea for their upcoming project.
Have you ever considered building a D.I.Y. lightbox for tracing? If so, you should read this article! I’ll demonstrate how to make a D.I.Y. lightbox from readily available items. You’ll have the ideal lighting for any work when you’re ready to construct your next item, whether knitting or making furniture.
The inexpensive ones can be replaced with a handmade lightbox for tracing. It is simple to construct a D.I.Y. lightbox for tracing. You only need a little bit of time and some readily available materials. You may avoid shelling out a ton of cash on pricey equipment by following the instructions in this article to create one at home!
A handmade lightbox can be the perfect choice if you’re an artist or designer who wants to trace images for your job. You could purchase one already manufactured, but they can be pricey, and fin can be challenging. Size isn’t always simple. Additionally, the bulbs in these pre-made light boxes frequently produce too much heat for some people to utilize comfortably. If this sounds like your issue, a handmade lightbox might be the solution. This article will walk you through seven simple steps to create your handmade lightbox for tracing.
Make your lightbox for tracing or creative projects with a few hours, some 14 wood, and Plexiglas sheets. Let’s get going!
Making Homemade Light Box for Tracing
Tools Required
- dado stack
- Drill
- Miter saw
- Table saw
- Utility
Materials Required
- 1/4-in. Plywood (2 x 4 ft.)
- 1×4 board (8 ft.)
- Foil tape
- Frosted Plexiglas (18 x 24 in.)
- Plug-In LED Tape Light (10 ft.)
Rip Dadoes Into the Sides
Cut a piece of 1/4″ plywood to 18″ by 24.”
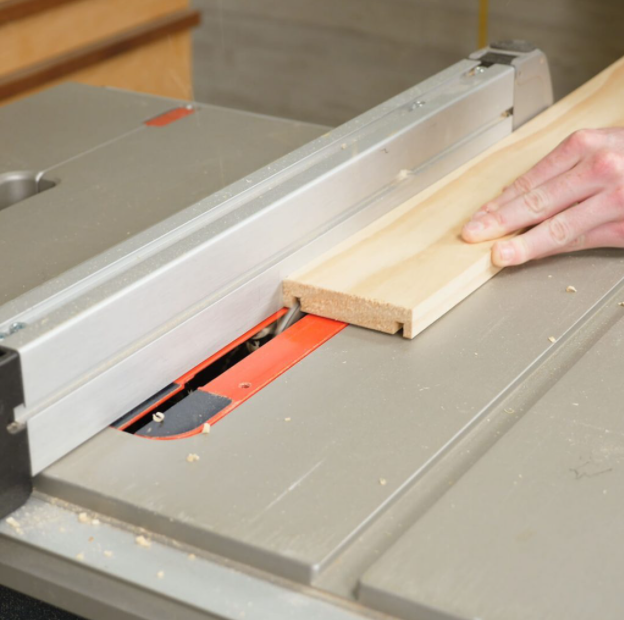
Use these jigs to improve the performance of your benchtop or fixed table saw. Rip cuts that are safer and more precise!
Cut Sides to Length
Two 24-3/4-in. Longboards and two 17-1/4-in. Longboards can be made from a 1/4 board. Cut a piece of 1/4″ plywood to 18″ by 24.”
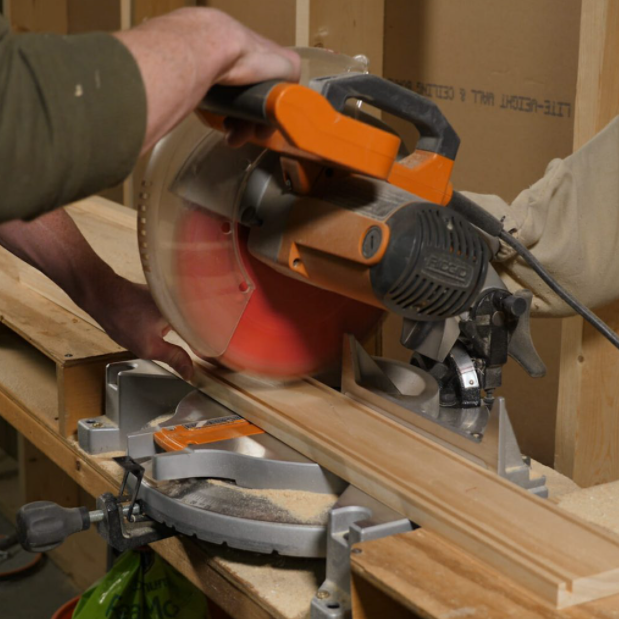
A power miter saw is an effective tool for practically any carpentry job. To ensure you get the best outcomes from your new acquaintance, read this post for some useful tips and methods.
Create a Reflective Surface
Attach the foil tape to all sides and plywood lining.
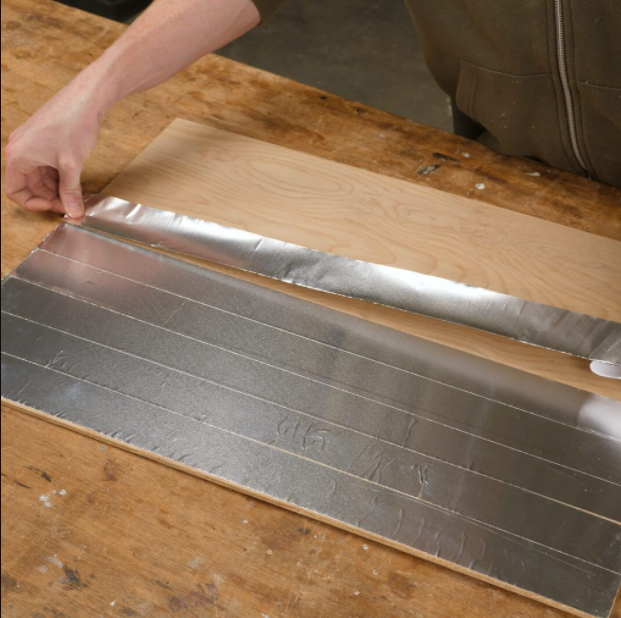
Duct tape is available for various purposes and solutions for strange issues. There are also extra-tough versions, such as glow-in-the-dark, weather-resistant, double-sided detachable clear tapes!
Drill the Cord Hole
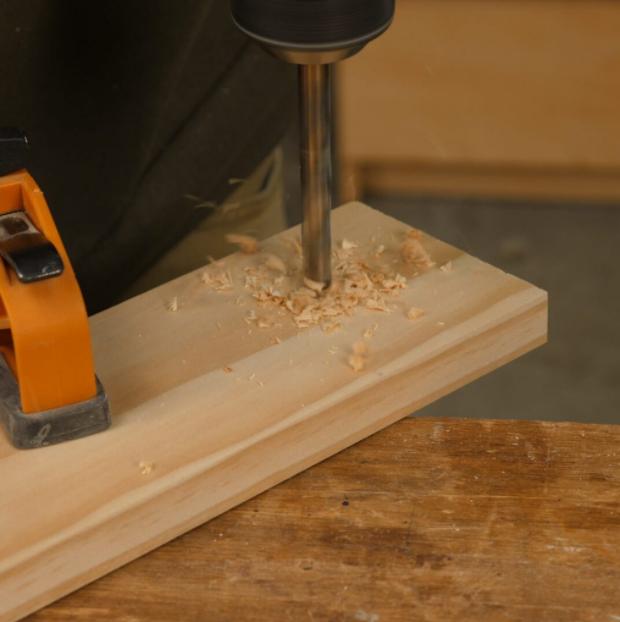
Drill a 1/2-inch hole 2 inches from one end of the power cord’s long side to make it easier to access the annoying plug.
Fasten the Box Together
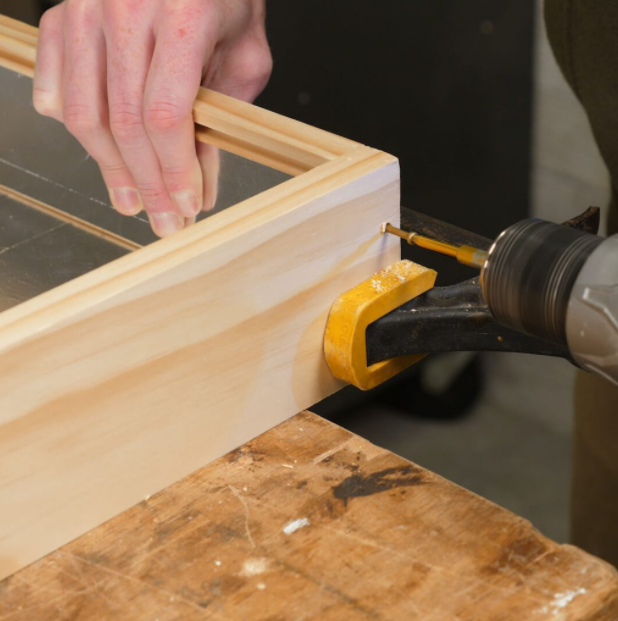
The box’s three sides should be together with fasteners and properly glued.
String the Lights
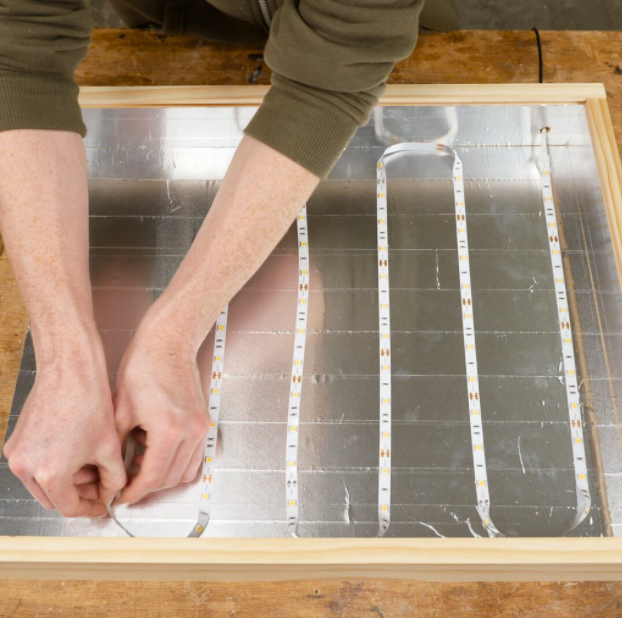
After the plywood bottom has been cut out, tape down L.E.D. lights and run their wires through a 1/2-inch hole.
Add the Frosted Plexiglas

Your project must be finished soon! The final step is ensuring all screw terminals are firmly connected before inserting the frosted glass.
Conclusion
In conclusion, for artists and amateurs, building a DIY light box for tracing can be an easy and affordable solution. Anyone may create their own light box to enhance their artwork or craft endeavors with just a few basic tools and materials. This do-it-yourself project enables exact and accurate replicas of designs, patterns, or sketches. Artists can modify the intensity to fit their needs by adjusting the light source’s brightness. Why then wait? Take your artwork to the next level by beginning to construct your own light box today!


