Have you ever wondered how photographers achieve those flawless studio-quality shots without leaving their homes? It’s time to unveil the secrets behind setting up a successful home photography studio. From choosing the right equipment and optimizing lighting techniques to transforming ordinary spaces into artistic backdrops – we’ve got you covered. Whether aiming for breathtaking portraits or product photography that sells, these essential tips will empower you to unleash your creativity and take your photography skills to new heights from the convenience of your living room. So get ready to turn any corner of your house into a captivating studio with our insider knowledge!
Home Photography Studio Tips
Here are some tips you can use in a home photography studio!
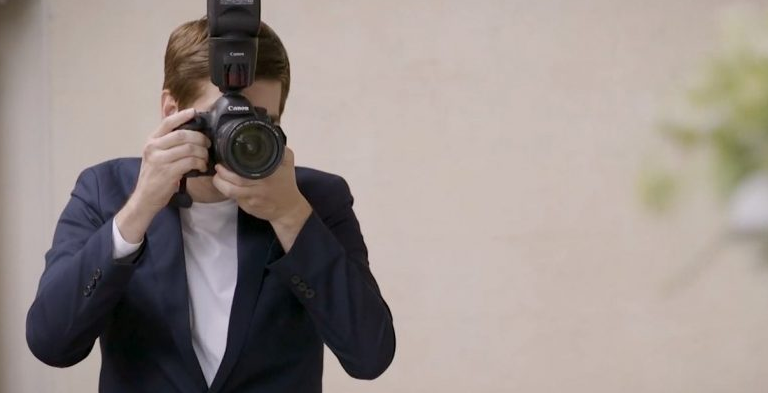
1. Get to know your gear
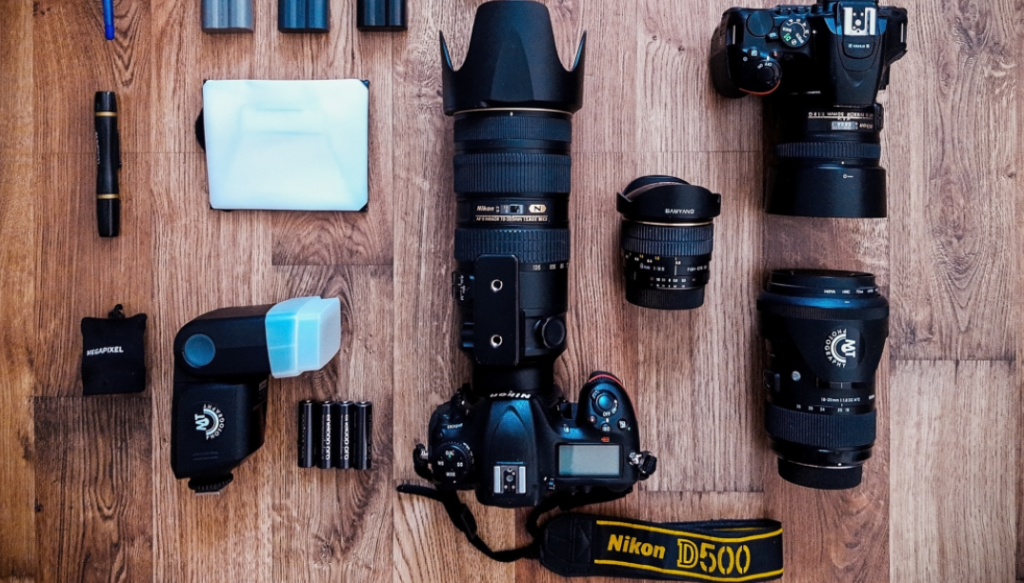
The first step in getting the most out of your home photography studio is to get to know your gear. This means spending time with your camera and all of the lenses you have, experimenting with different settings, and shooting in different scenarios.
2. Control the environment
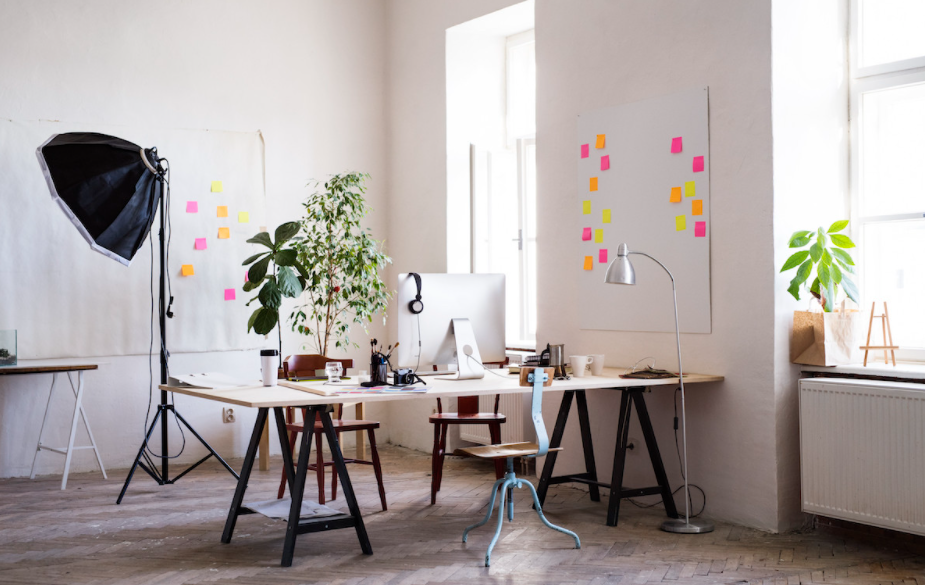
One of the advantages of having a home photography studio is that you can control the environment. This means eliminating any distractions and creating an environment that is conducive to taking great photos.
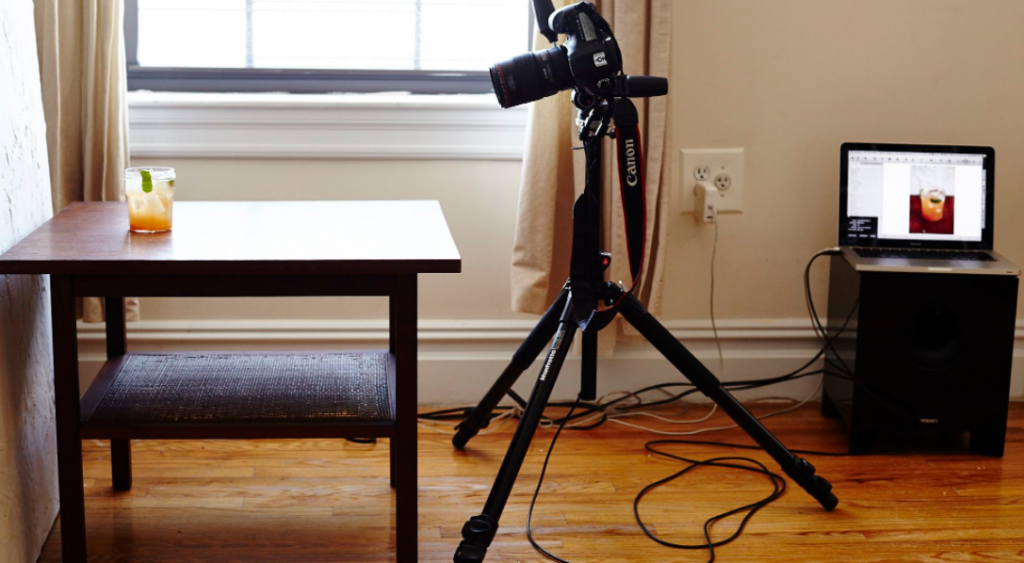
3. Shoot tethered
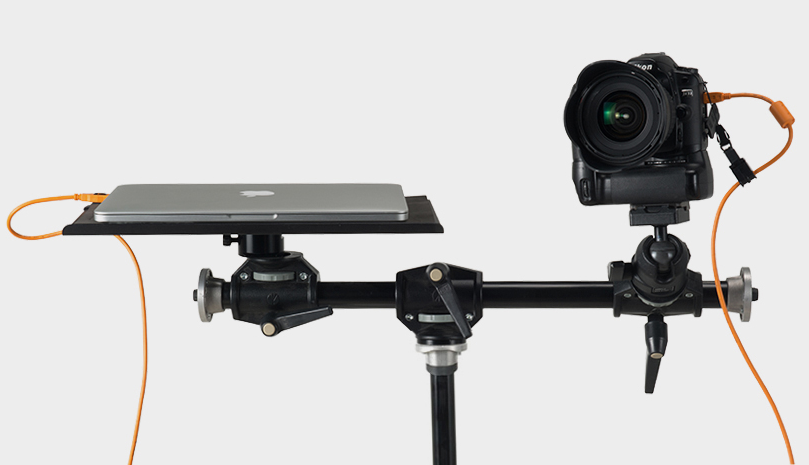
Shooting tethered means that you connect your camera to a computer and view the photos as you shoot them. This allows you to make adjustments on the fly, which can result in better photos.
4. Use a light meter
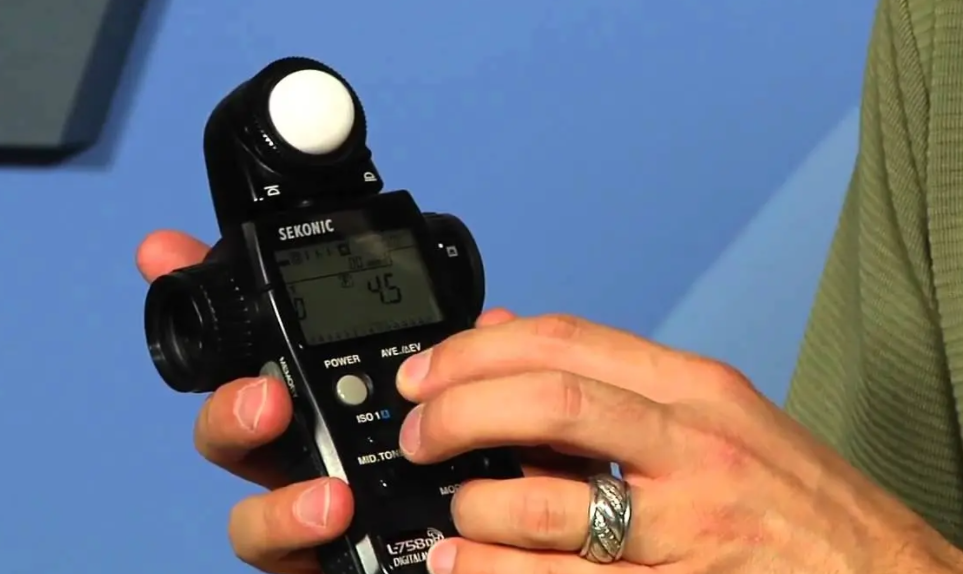
A light meter is an essential tool for getting the most out of your home photography studio. It helps you to determine the right exposure for your photos, ensuring that they are correctly exposed.
5. Master the flash
A great way to improve your photos is to master the use of flash. This means knowing how to use the flash to create different effects and using it in conjunction with other light sources.
6. Shoot RAW
Shooting RAW requires some additional time and effort on your part, but the results are worth it. RAW files give you more information to work with in post-processing than JPEGs do, which means that you’re able to get better photos if you shoot in RAW mode.
7. Use a tripod
A tripod is an essential tool for getting the most out of your home photography studio. It helps you to achieve sharp photos even if your hands are not completely steady, which means that you’re able to get better photos.
8. Learn to composite
Another way to improve your photos is to learn how to composite them together into one photo. This involves shooting multiple images, which are combined in post-processing to create the final photo.
9. Edit your photos

Editing your photos can make a huge difference in terms of improving them and getting the most out of your home photography studio. Editing involves using software like Adobe Photoshop or Adobe Lightroom to make adjustments to your images, such as adjusting exposure and white balance, cropping, and altering the colors.
10. Print your photos
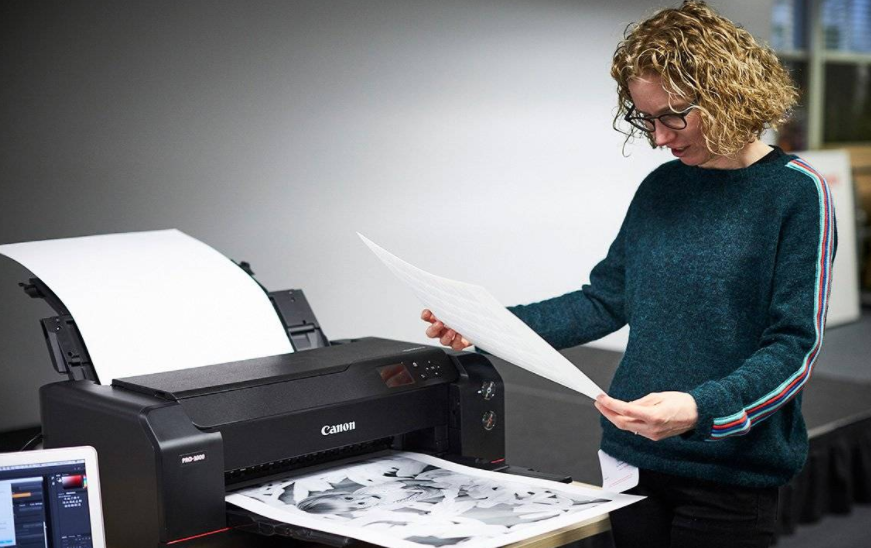
Printing can allow you to showcase your photo work in a way that they aren’t when viewed only on a computer screen, tablet, or phone. Looking at your photos on paper will help you figure out what works and what doesn’t, which will help you get better photos in the future.
Conclusion
In conclusion, setting up a home photography studio can be fun and rewarding. By following these tips, you can create a versatile space to capture stunning images right from the comfort of your home. Consider the lighting, backdrop options, and equipment necessary to achieve professional-quality results. Feel free to experiment and get creative with your setup. With some practice and patience, your home photography studio can become a hub for capturing beautiful moments and creating lasting memories. So go ahead and start designing your own home photography studio today!
Thank you for reading this post…🙂
Note: Interested to know about How to Set up a Photography Studio? Read here.
Frequently Asked Question
Q1:How can I take studio-quality photos at home?
A1:You can take studio-quality photos at home by creating a controlled lighting environment, using a tripod for stability, selecting appropriate backdrops, investing in quality equipment, and practising post-processing techniques. Additionally, understanding camera settings, composition, and the principles of lighting will significantly improve your results.
Q2:How do I make my photography studio successful?
A2:To make your photography studio successful, focus on building a solid portfolio, marketing your services effectively, providing exceptional customer service, and continually improving your photography skills. Establishing a unique style, networking with other professionals, and investing in quality equipment can contribute to your studio’s success.
Q3:Should a photography studio have windows?
A3:Whether a photography studio should have windows depends on the type of photography you specialize in. Studios for portrait or product photography often use controlled artificial lighting and may not require windows. However, if you do natural light photography or want different lighting conditions, windows can be beneficial for providing soft, diffused natural light.
Q4:What do I need for a basic photo studio?
A4:For a basic photo studio, you’ll need equipment like a backdrop and stand, lighting gear, a camera with the right lens, a tripod, reflectors or diffusers, a backdrop support system, a remote shutter release, and editing software. Props and accessories can enhance your setup.


